How to remove a broken exhaust manifold stud
By: Jon Steege
This page is about how to remove a broken exhaust or intake manifold stud without damaging your aluminum cylinder head. Some may say it can't be done with the head on the car, and in some cases, that may be correct. However, I plan to show how to remove a broken exhaust (or intake manifold) stud without a trip to the machine shop and the cost of a new head gasket and headache and all that.
So without further adue, a parts list:
First of all, some notes about the parts list. You must have something to drill with, so obviously an electric drill is a neccesity. Unfortunatly, most electric drills will not fit, so you will need to buy a right angle adapter for the electric drill, pictured below. You may also be able to substitute a 90 degree angle die grinder if you can find cobalt metal bits that fit it, but in my experience, that is a chore.

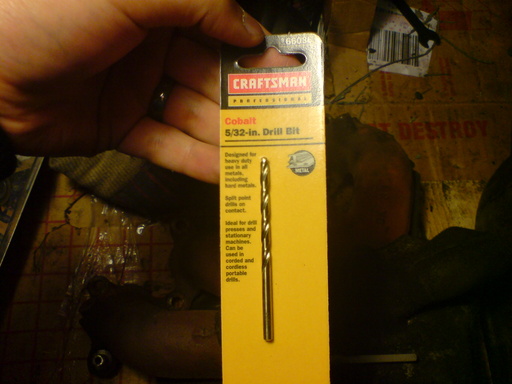
Second, the drill bit is of the utmost importance. Don't even bother with the wood/metal/all purpose drill bits, because they are just a waste of time. You want to buy a drill bit that is made of cobalt metal, i.e. the chemistry element cobalt.
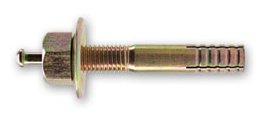
Third, you need this particular style of "Strike Anchor" concrete anchor from whatever hardware store you can find:
Fourth, this method may not be possible without a bench grinder. you may be able to get creative and use something else, but a bench grinder makes life really easy.
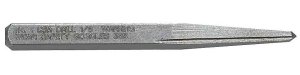
Finally, you are gonna need a cheap $3 screw extractor. It is a square pin with serations that bite when turned counter-clockwise.
Procedure:
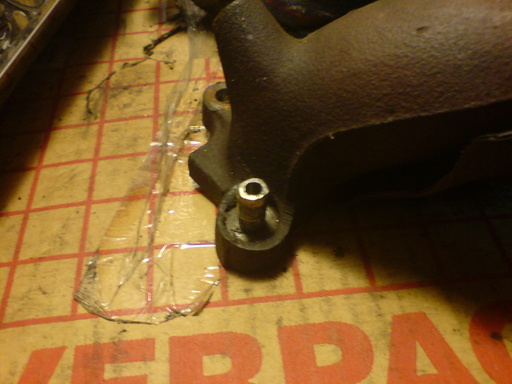
Our first objective is to make a metal sleeve for the drill bit to ensure that the drill bit goes through the stud and not your cylinder head. To do this, you need to take the concrete anchor described above, and remove the pin from the center of it, as well as the nut that may or may not be on it. Then, using a bench grinder, or alternatively, a hack saw, cut the anchor in half. We just need the top side of the anchor with the threads on it, the bottom side can be discarded. Next, you need to grind down the outer shell of the anchor until it fits snuggly into the hole of the exhaust manifold. If you have your exhaust manifold off, now would be a good time to attach it with as many studs as possible that are still intact. This step is neccesary, because without the exhaust manifold attached, the sleeve we made for the drill bit cannot be used. Below is an example of the sleeve, as well as how we plan to use it:

Next, if you have enough clearance to insert the drill bit into the bit guide we made from the anchor without the bit guide and the bit having to be put on at the same time (test it out) then lightly tap the drill bit guide into the exhaust manifold hole where the stud used to go. If there is not enough clearance to insert the drill bit guide and then the drill bit separately, then simply put the sleeve over the bit and insert both at the same time, being sure that the drill bit guide is a snug fit into the exhaust manifold stud hole.
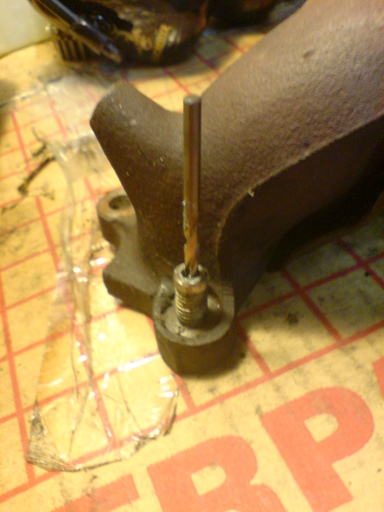
Now, as long as you are confident that the drill bit guide you made snuggly fits the exhaust manifold stud hole, then this is the moment of truth. With your 90 degree angle adapter for your drill attached, and the cobalt metal drill bit, with the drill bit guide over the drill bit, make sure once again that the sleeve is inserted snugly into the EM. If all of those things check out, then start drilling a tiny test hole to verify the drill bit angle.
If the first pilot hole is successful, then set up the rig again and drill a hole through the stud. This should take no more than about 45 seconds of drilling to get through the stud. You should feel the drill bit sink in really fast, which will then be your indication that you are through the stud. At this point, keep the drill rotating in the clockwise(drilling in) direction and slowly remove the bit, as this will ensure that the bit does not break in the stud, and also evacuate most of the shavings created going through the stud. Congratulations, you now have a relatively straight hole through the stud, thanks to the sleeve you constructed.
Now, remove the sleeve and use the screw extractor and the hammer to lightly tap the easy out into the hole we made in the stud. Once it is securely in the stud, use a crescent wrench to wind the easy out in the counter-clockwise direction. This is not the time for power tools, because we don't want the easy out breaking inside the stud. If you did everything correct, then the broken stud should start to wind its way out. If you suspect the stud might be rusted in or something, before using the easy out, spray some wd-40 or rust eater or other penetrating oil into the hole and then come back the next day to do the easy out step.
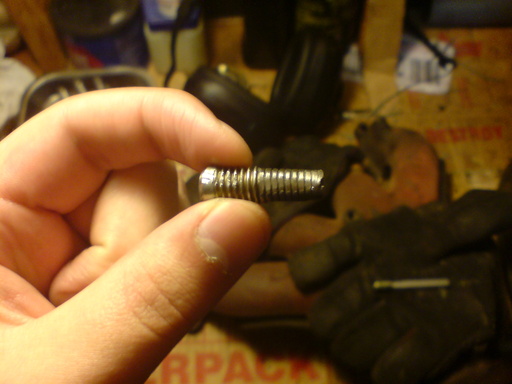
If all goes well, you should have something that looks like this:
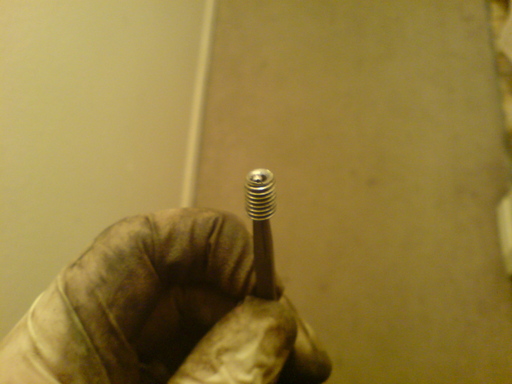
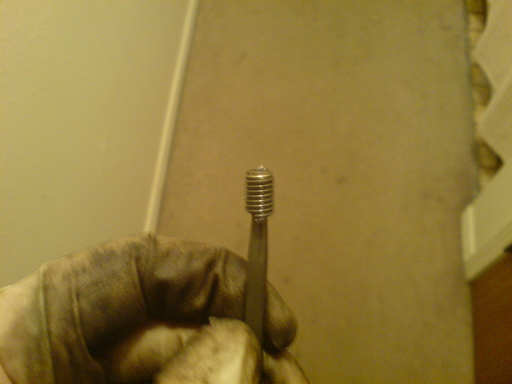
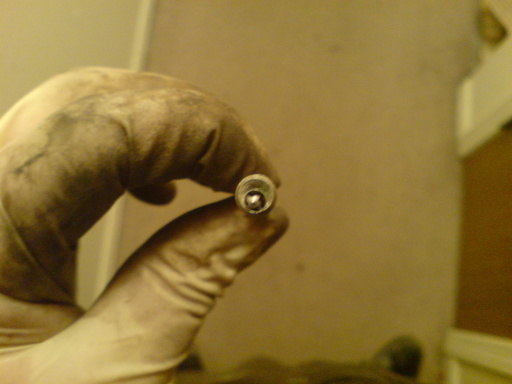
You will notice that in the image above, I managed to drill a nearly perfectly straight hole through the broken portion of the stud, thanks to the sleeve I constructed from the upper portion of the concrete anchor. I didnt even knick the cylinder head threads at all, and the new stud went in like nothing happened. This method works only on studs that have broken off inside the head, with no portion exposed to the outside. Good luck!