How to open a cable D-series Honda transmission
This article is a step by step on how to open up a Honda d-series manual transmission. These transmissions are comparatively very simple to work on and modify, as you can see from the pictures below. All pictures can be clicked to view a larger version.
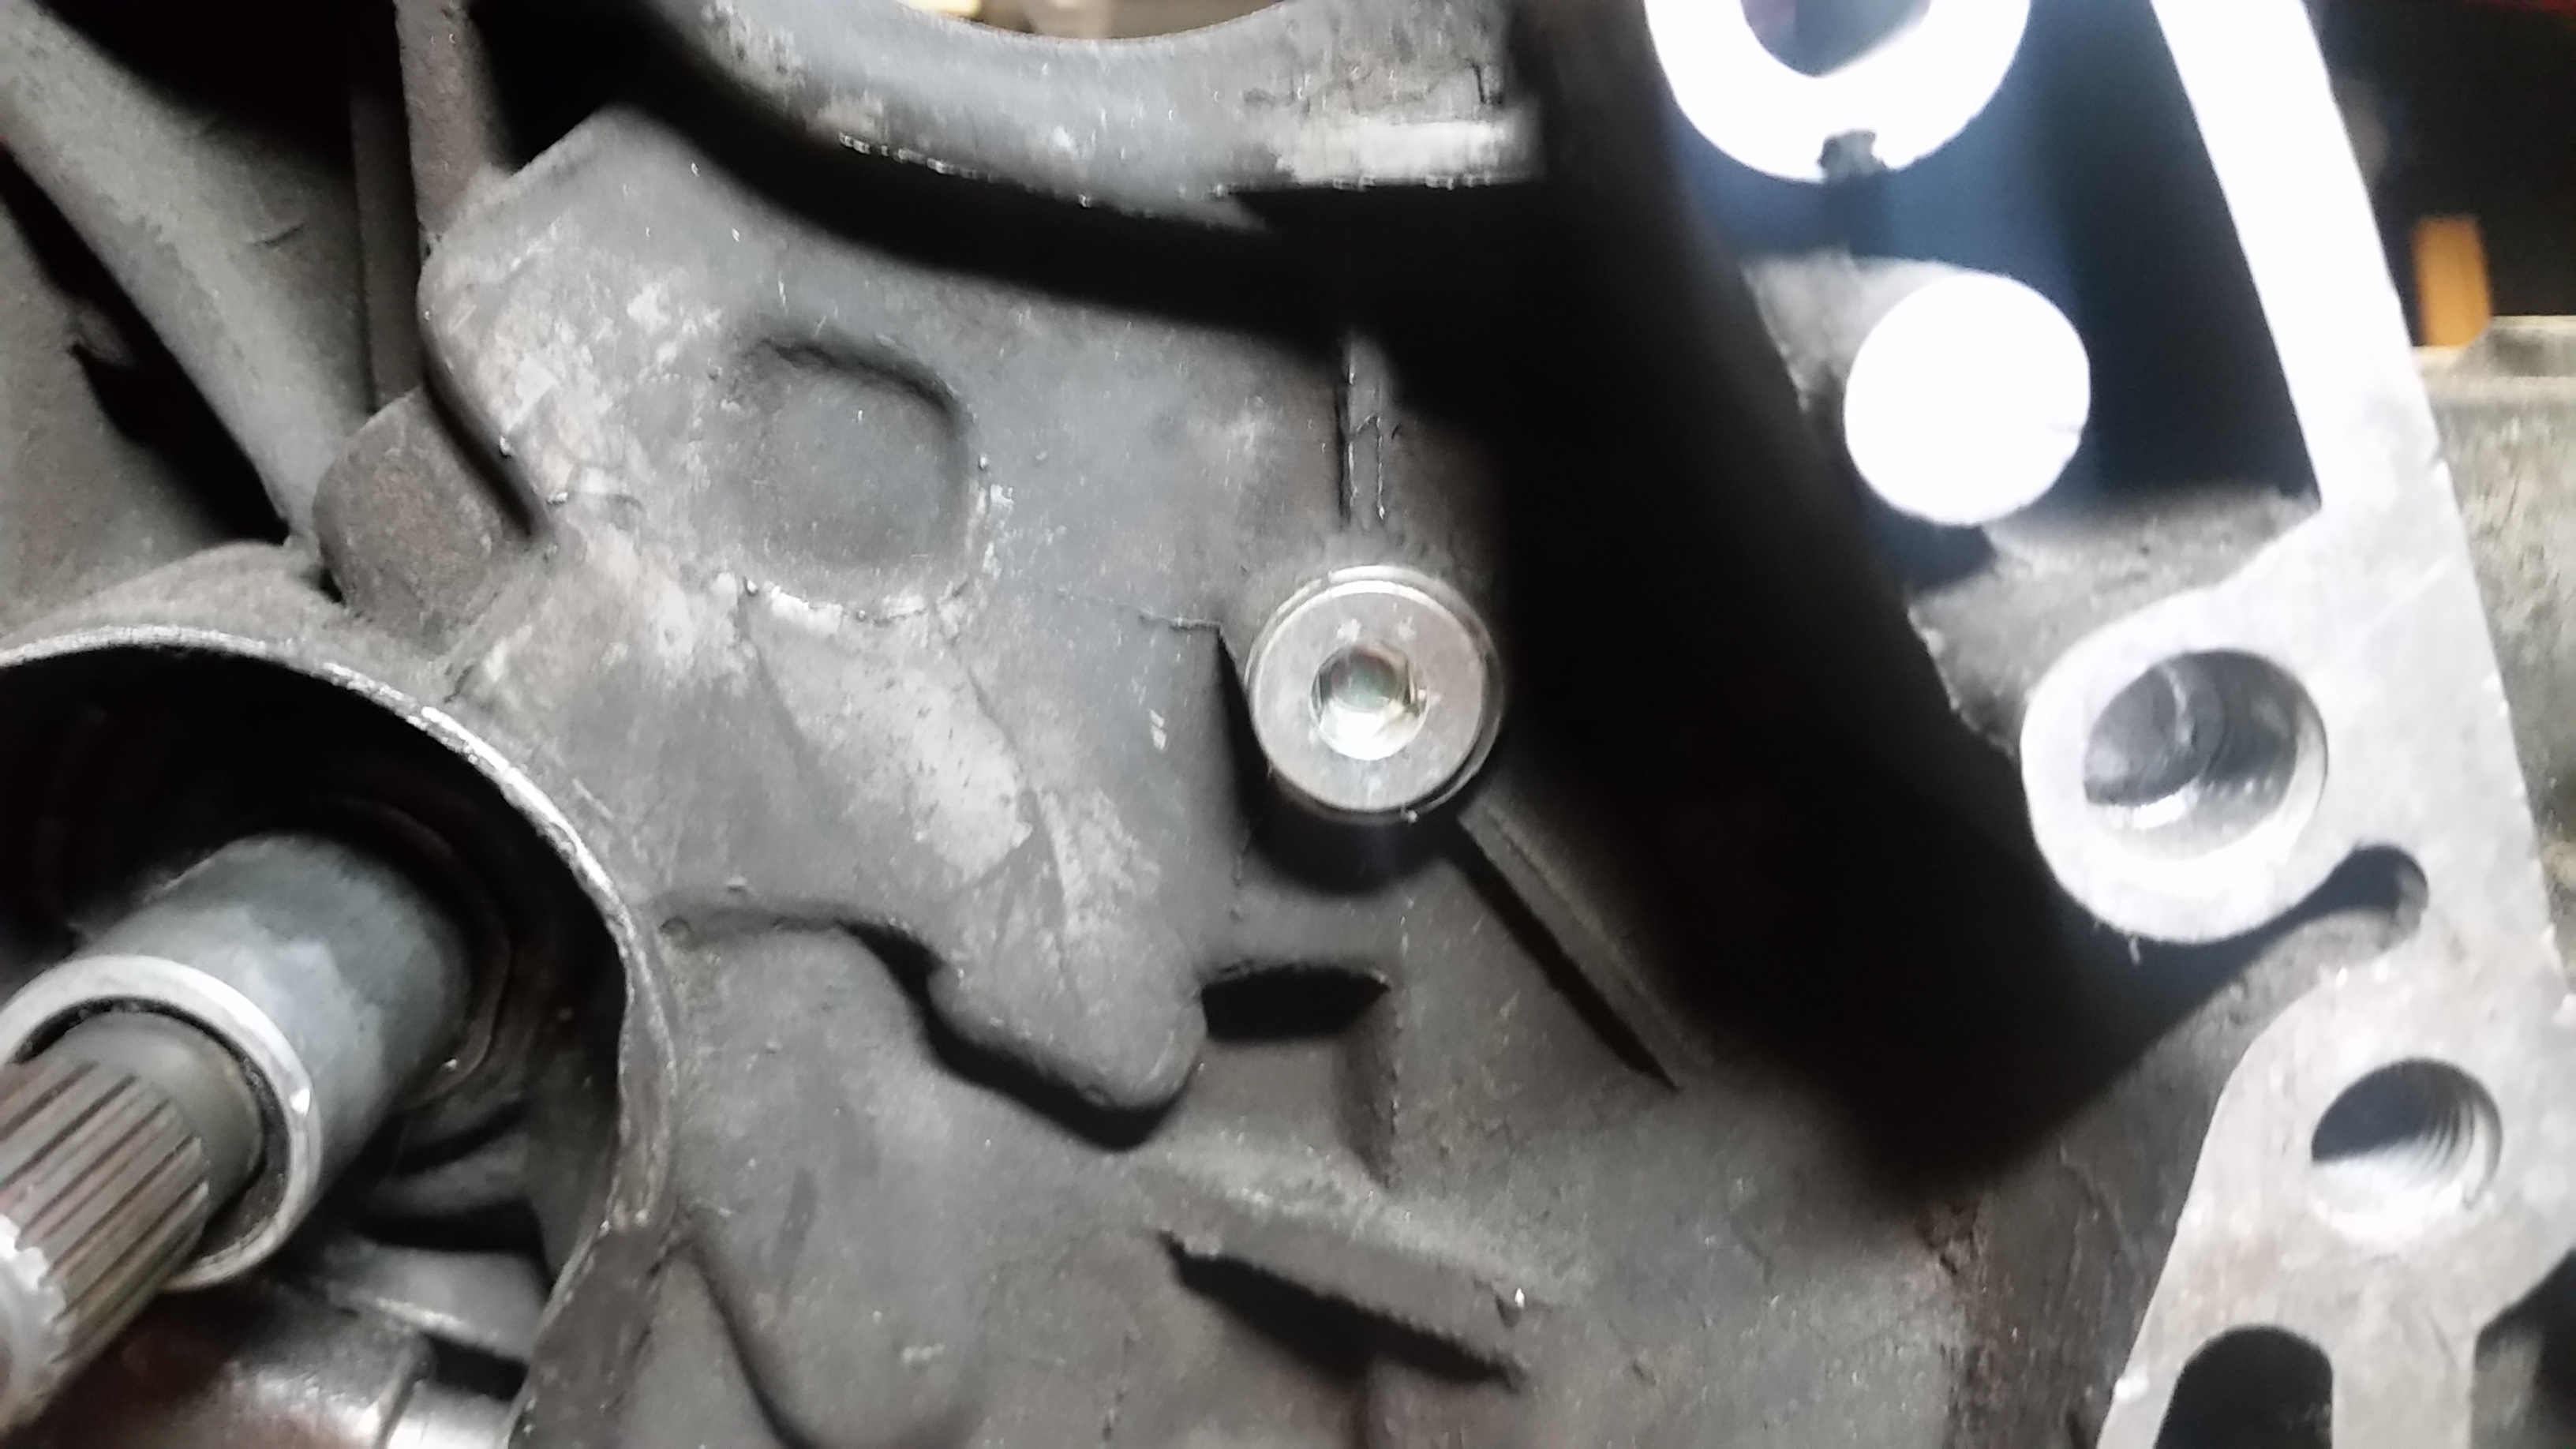
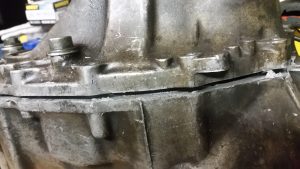
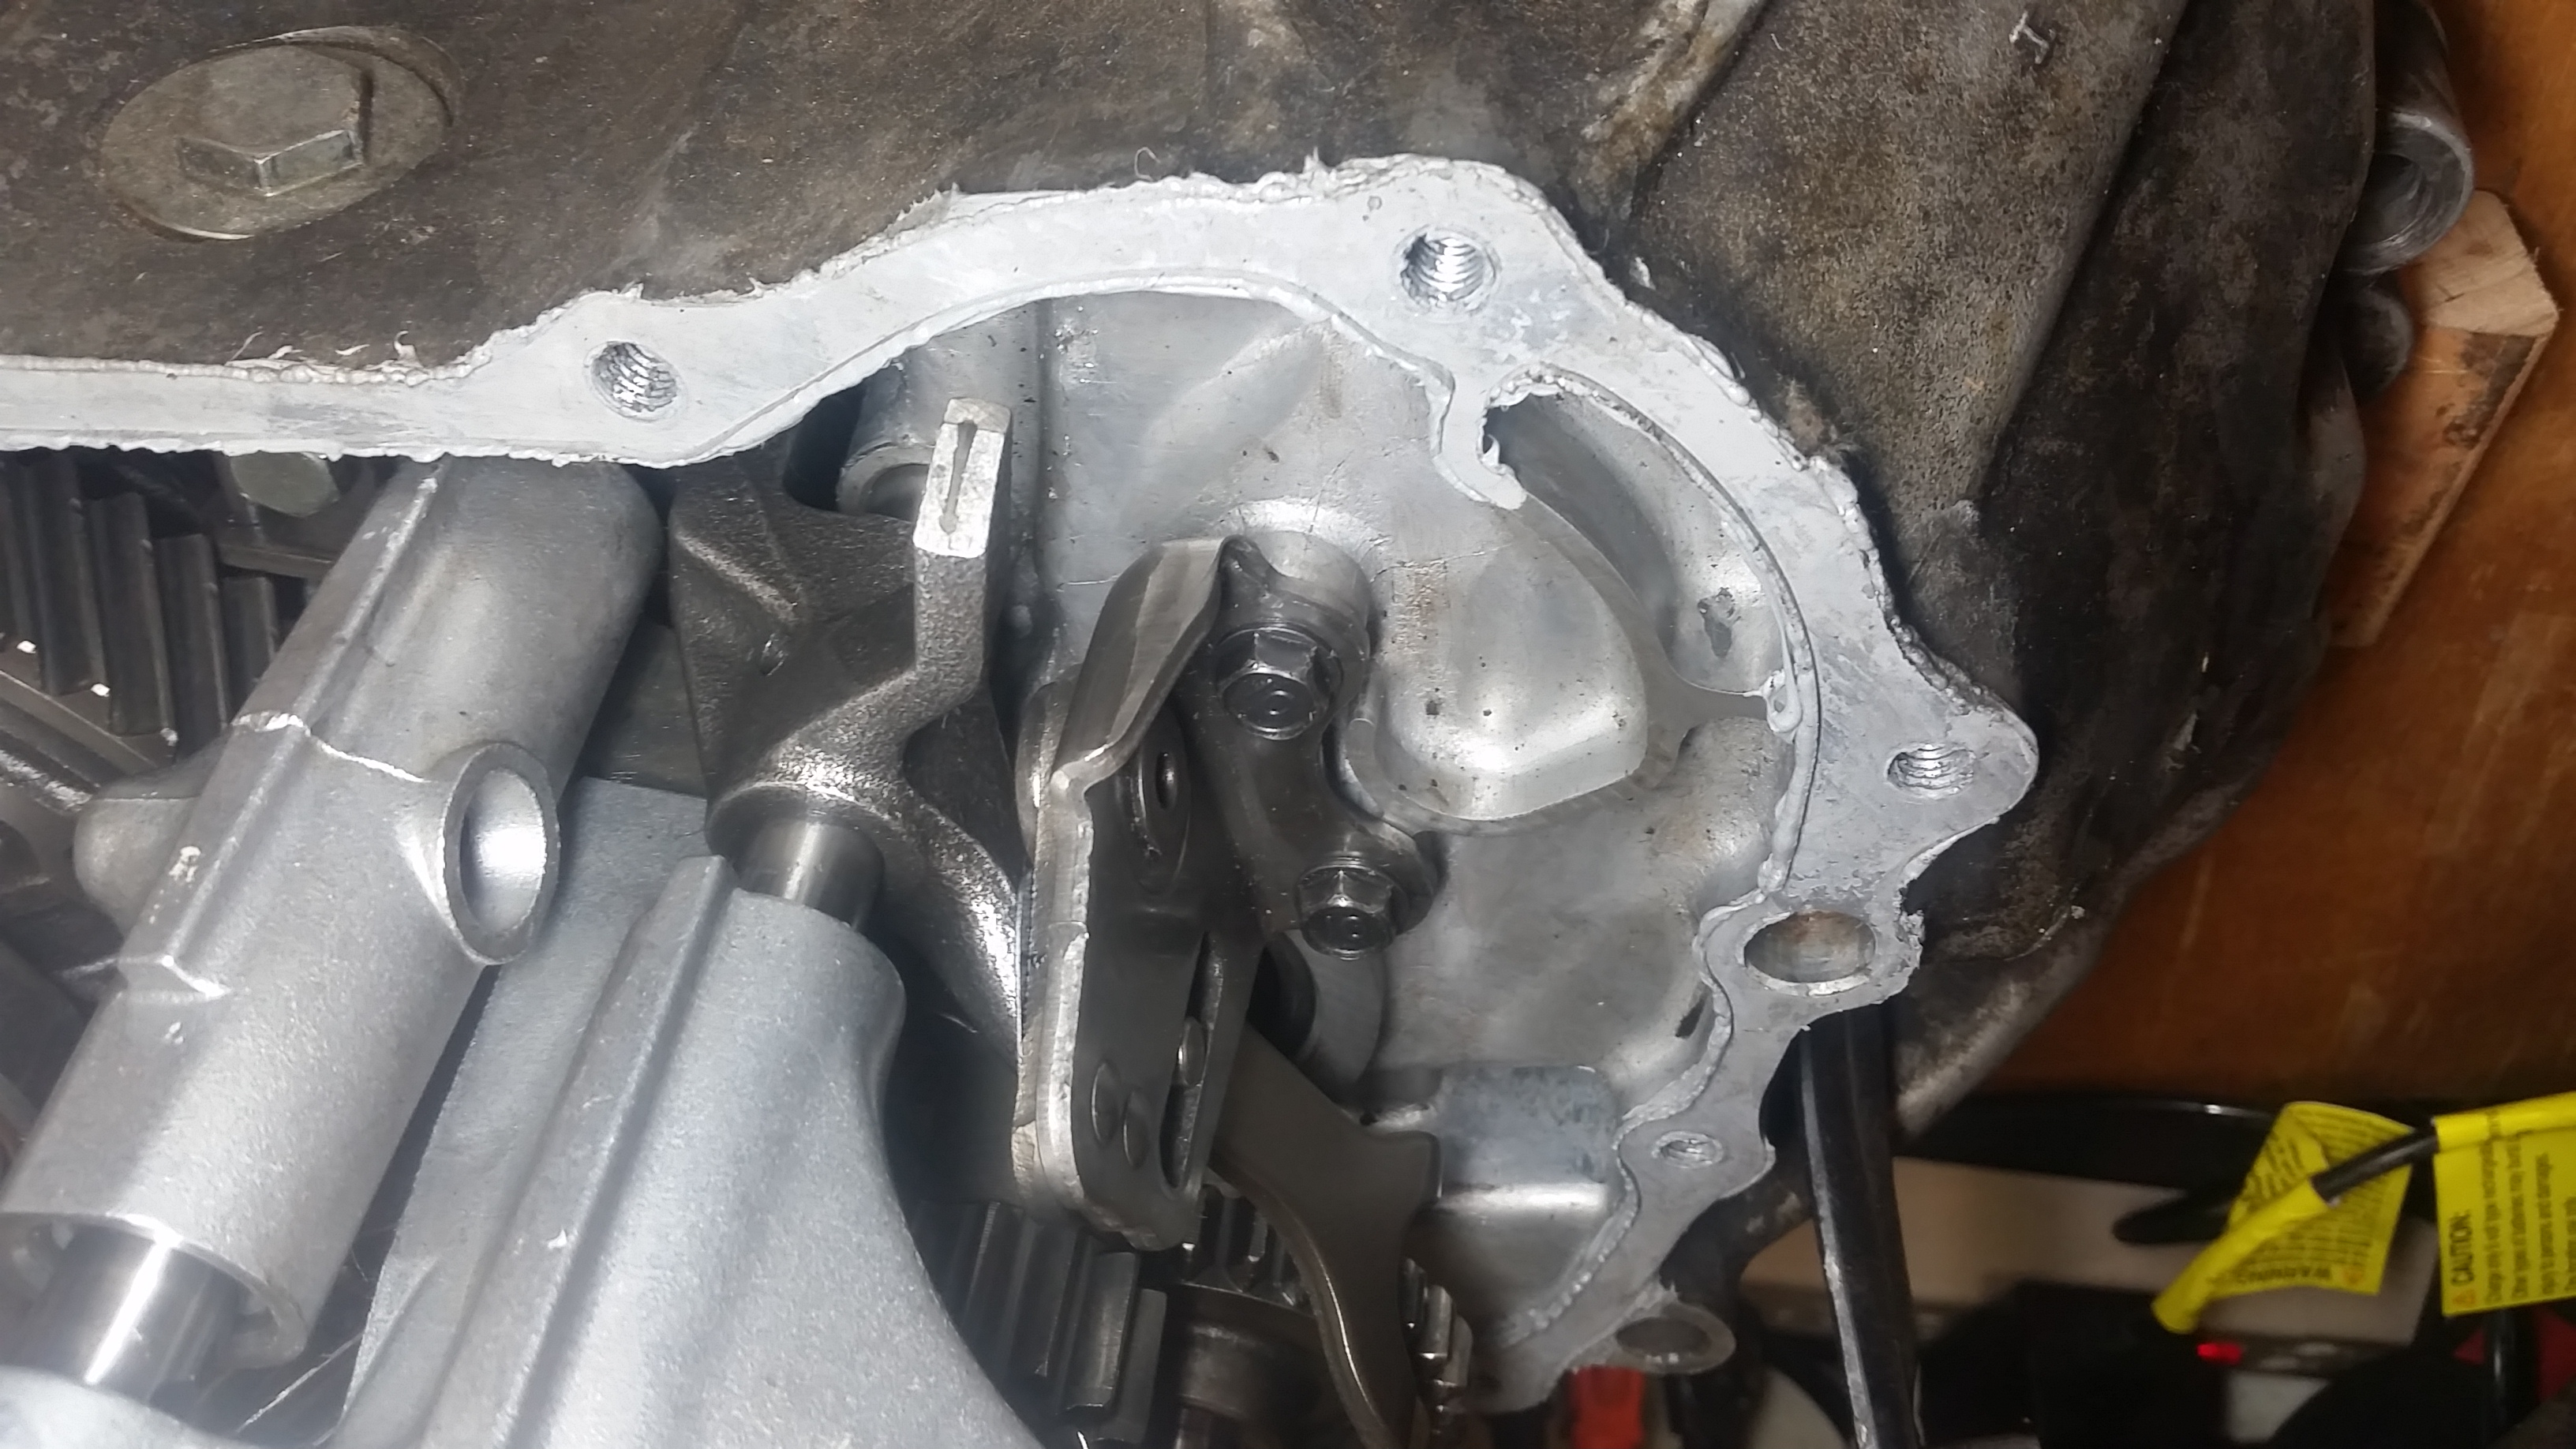
First, remove the shift interlock bolt inside the clutch housing.
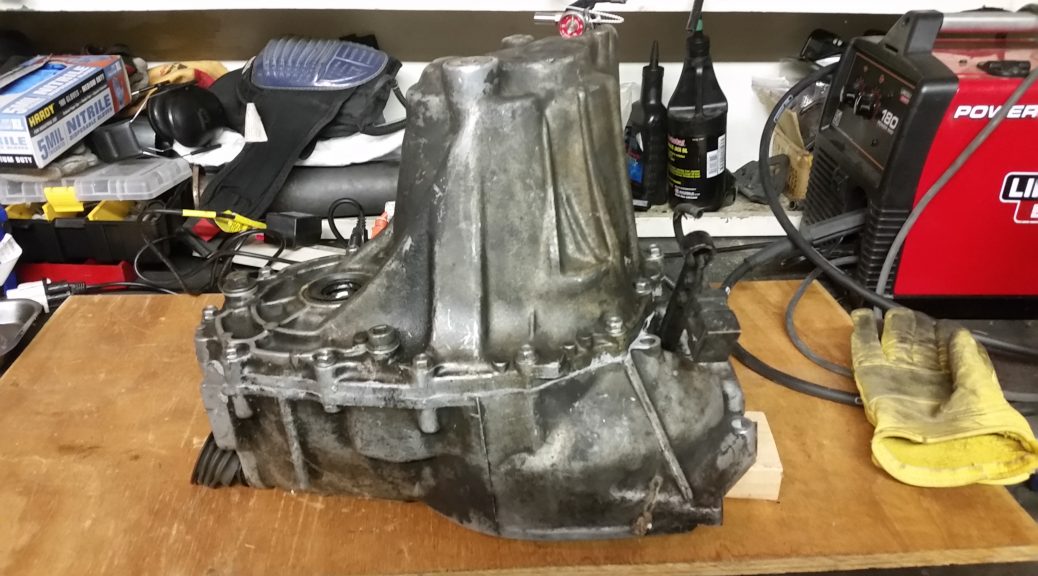
Then, prop the transmission on a wood block on a clean surface.The wood block is to allow clearance for the main shaft to drop down during subsequent steps. 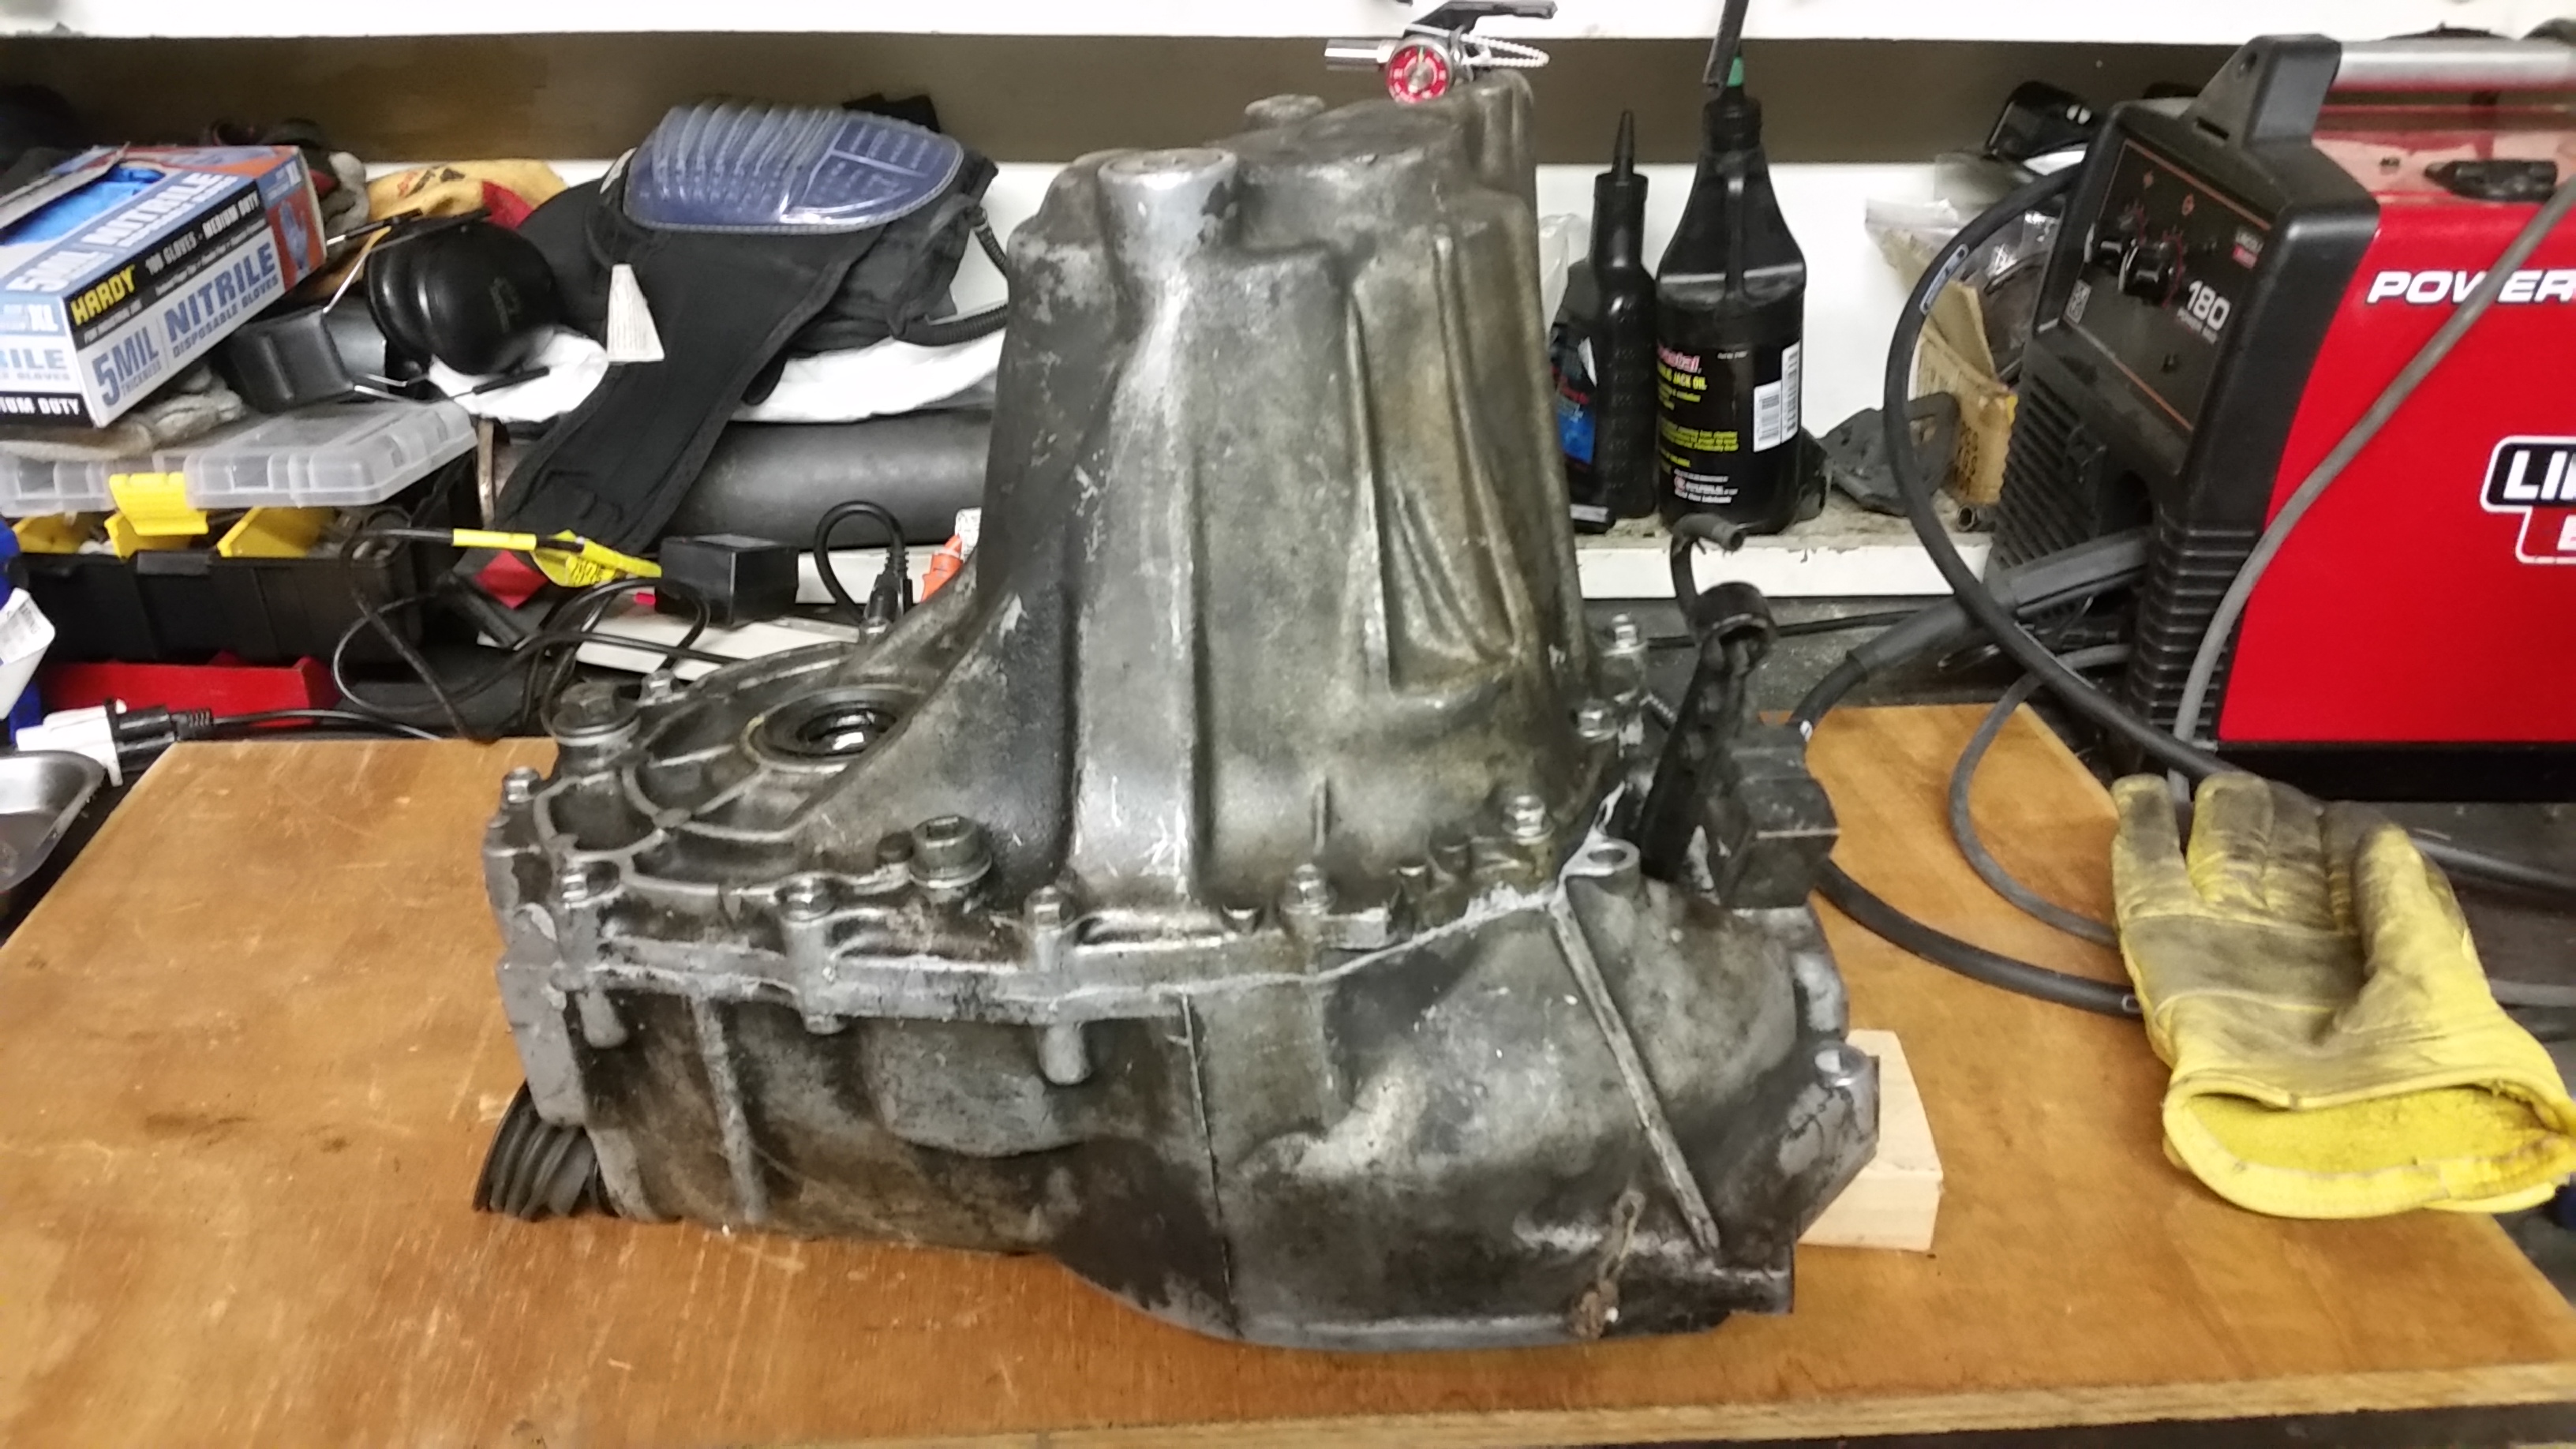
Clearance for the mainshaft!
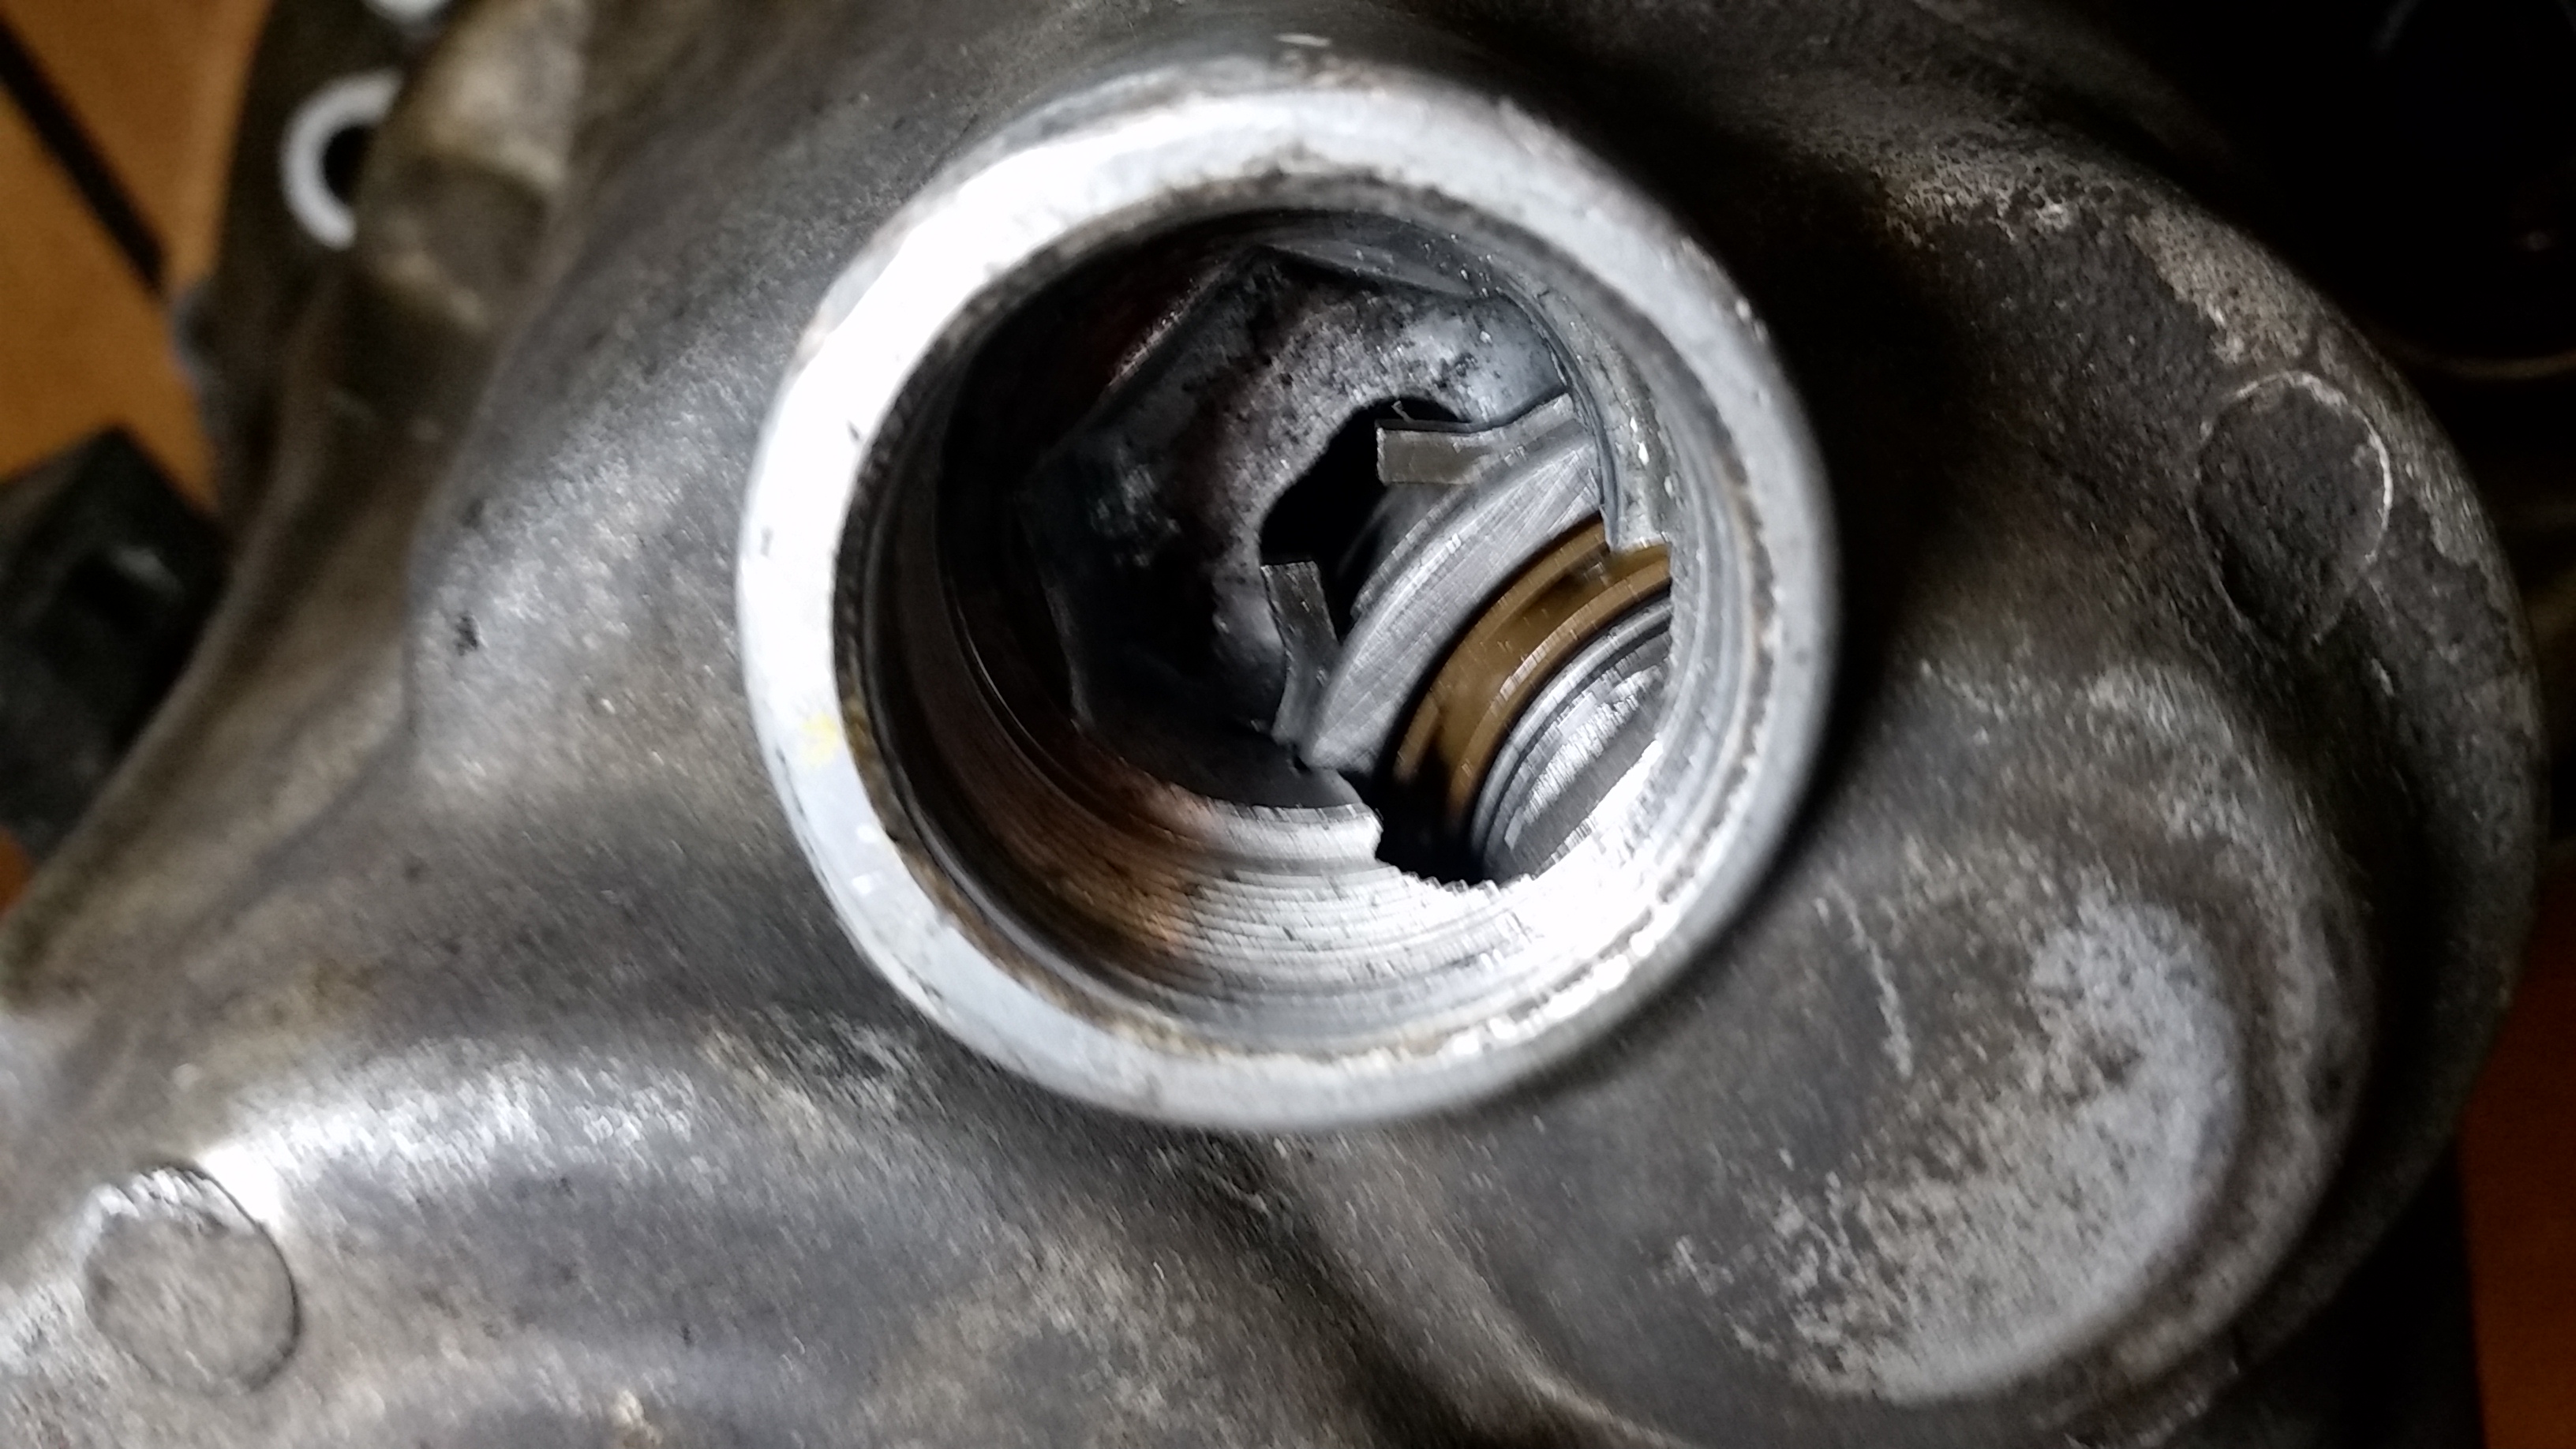
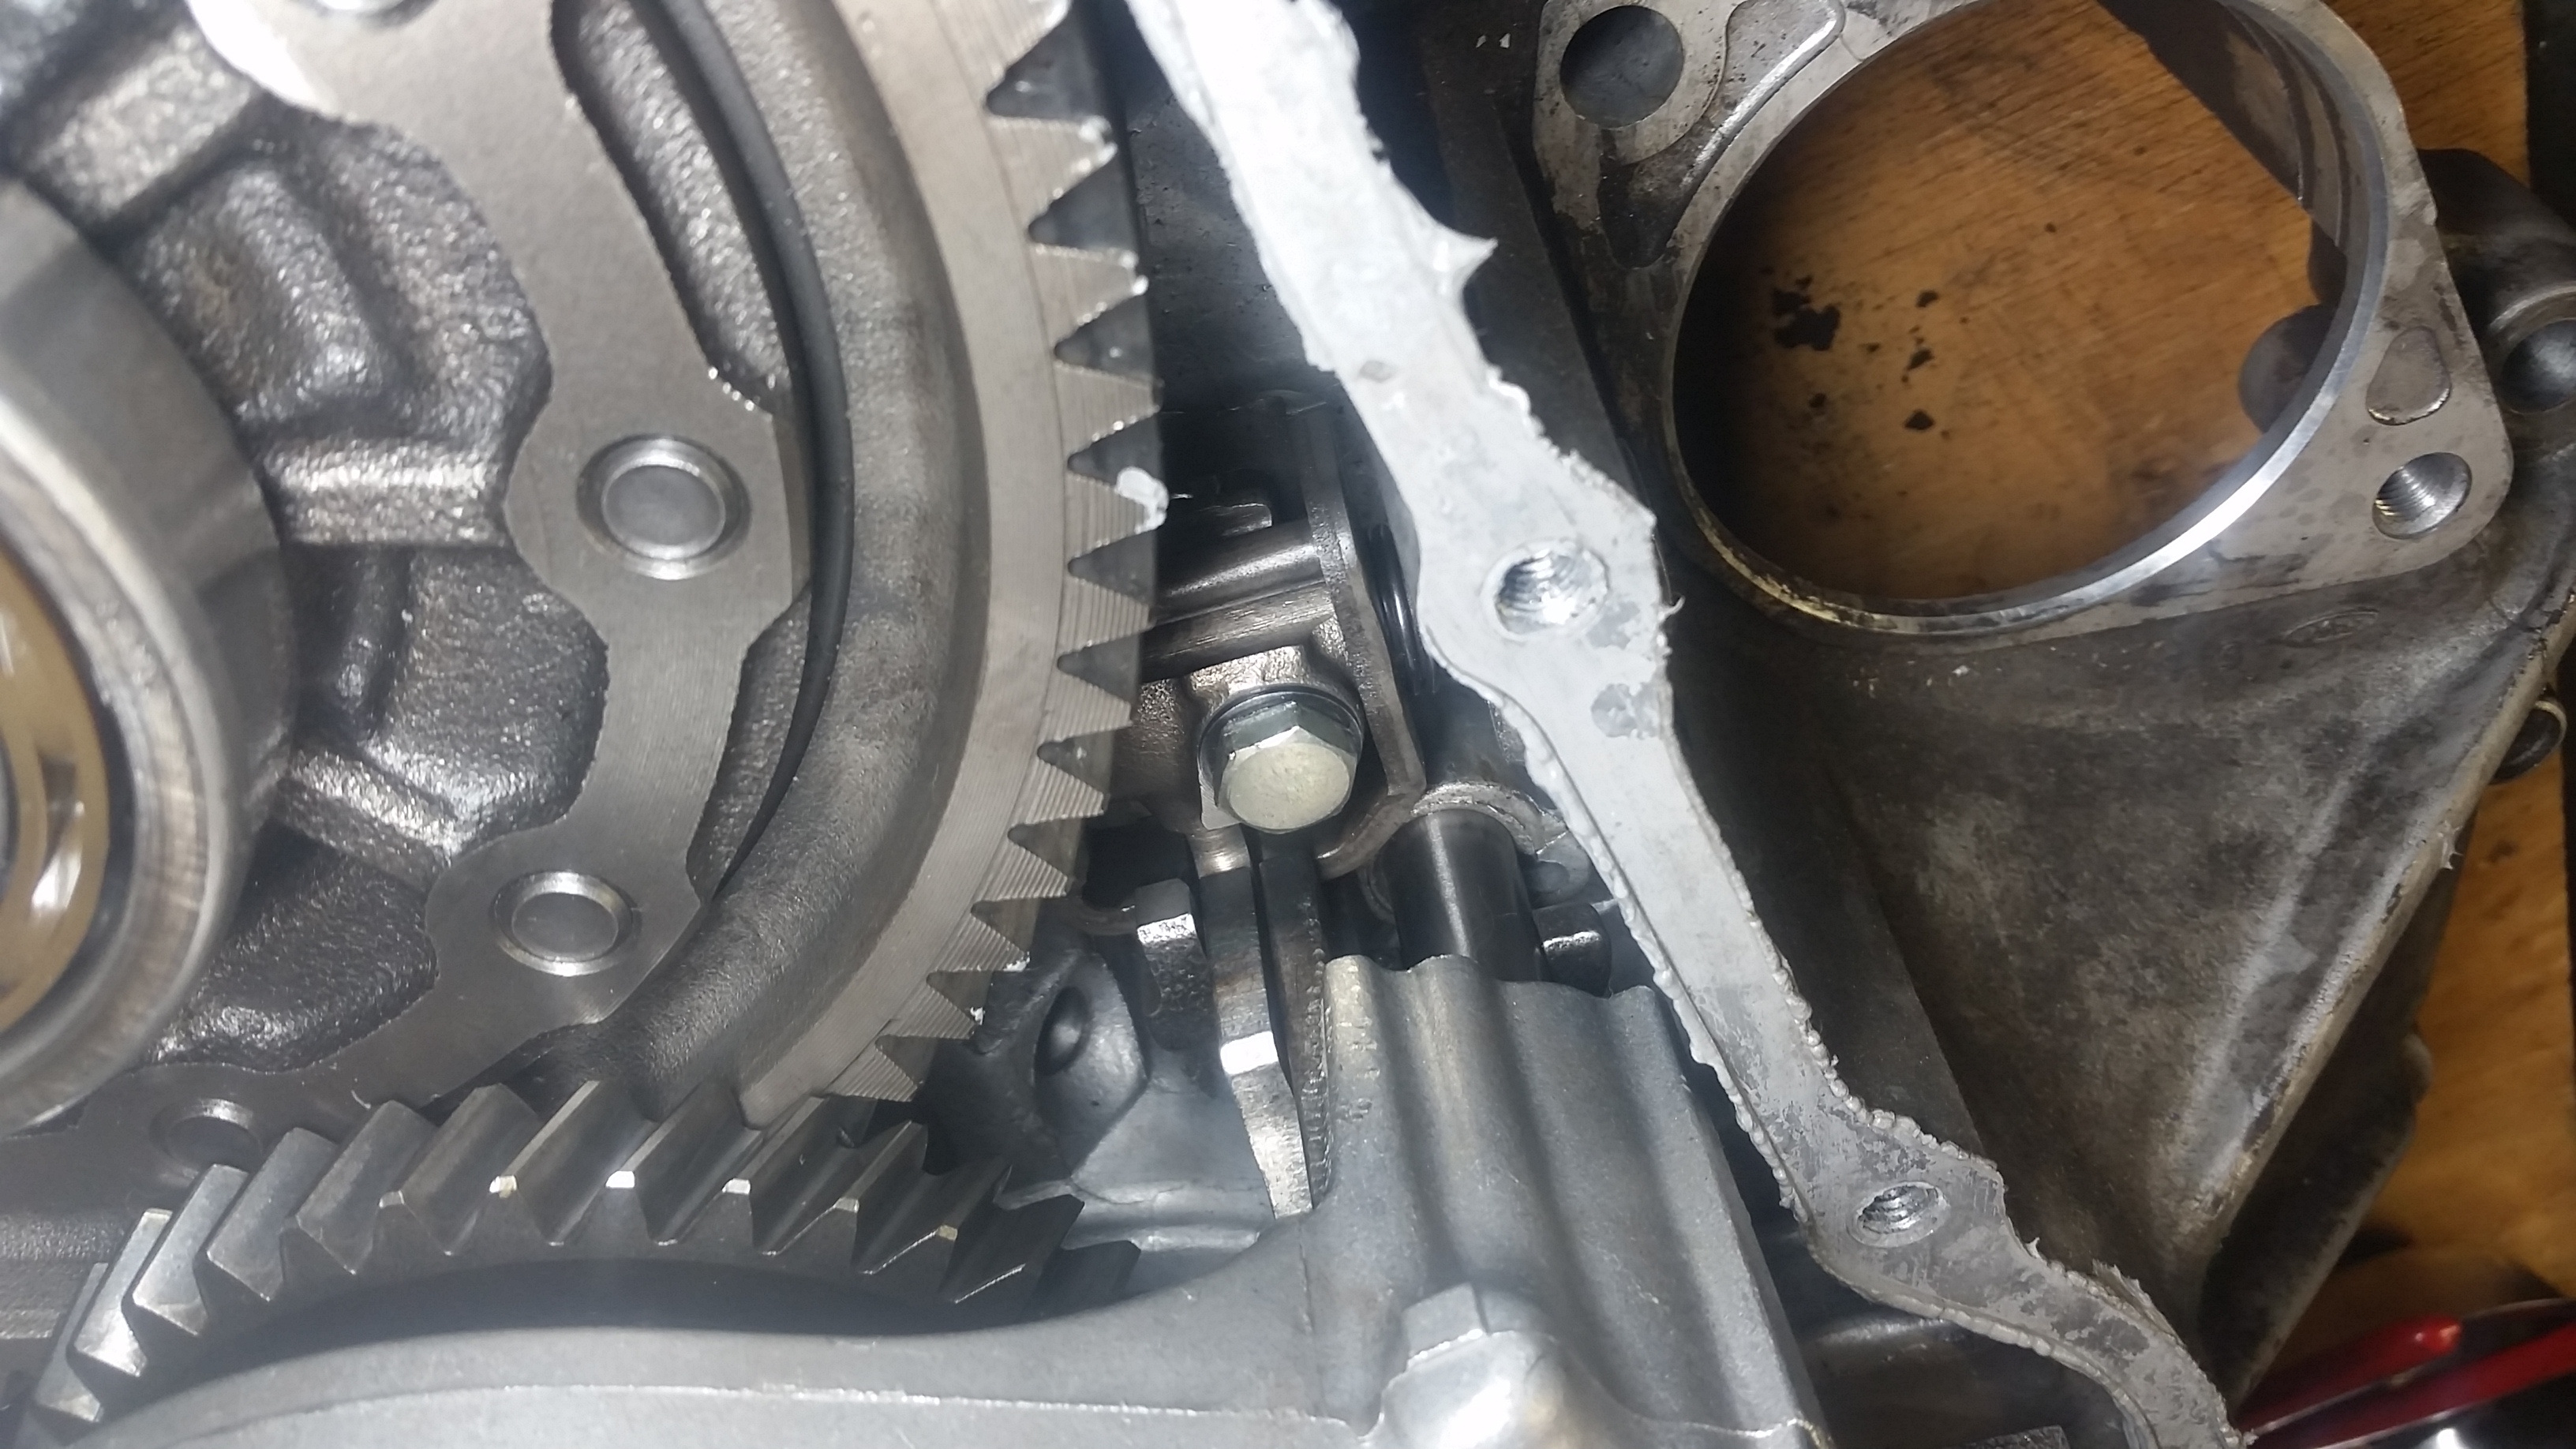
Next, take the mainshaft sealing bolt out. it is a 3/8th drive square. 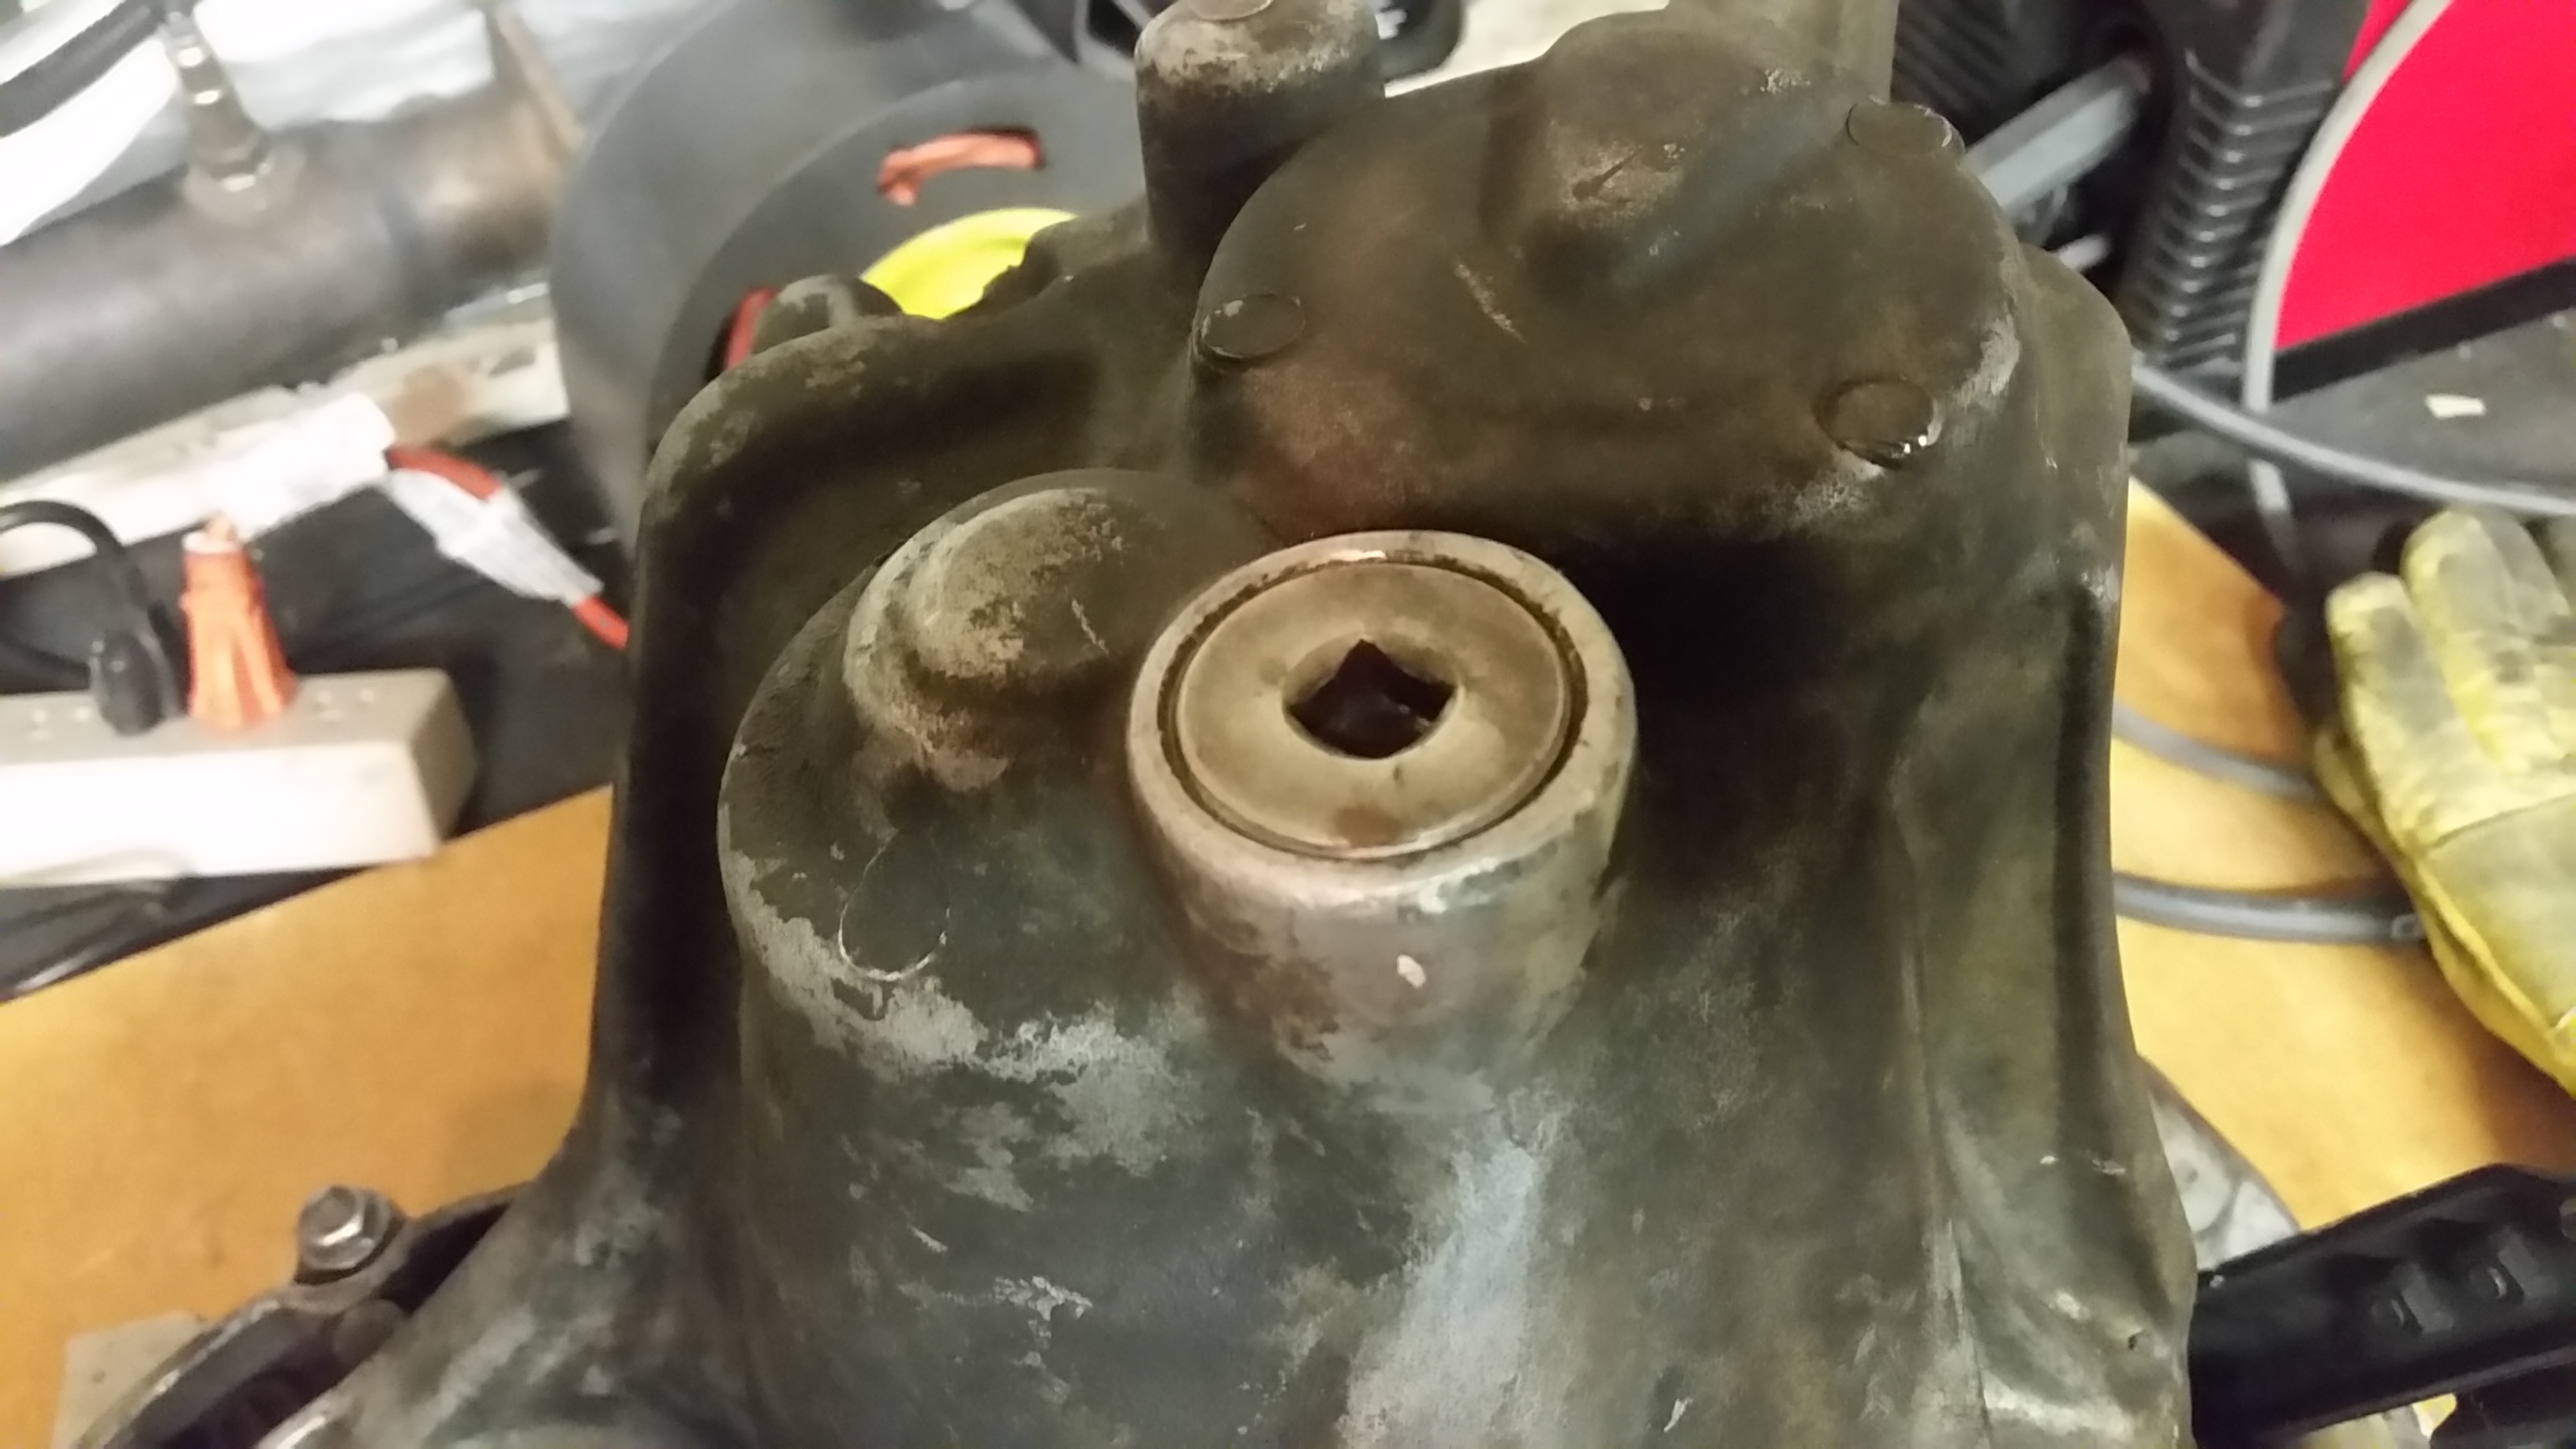
Once the sealing bolt is out, you will see the mainshaft lock ring. Separate the 2 ears using lock ring pliers (or snap ring if you like pain) and you should hear a ‘thunk’ inside the case from the mainshaft dropping.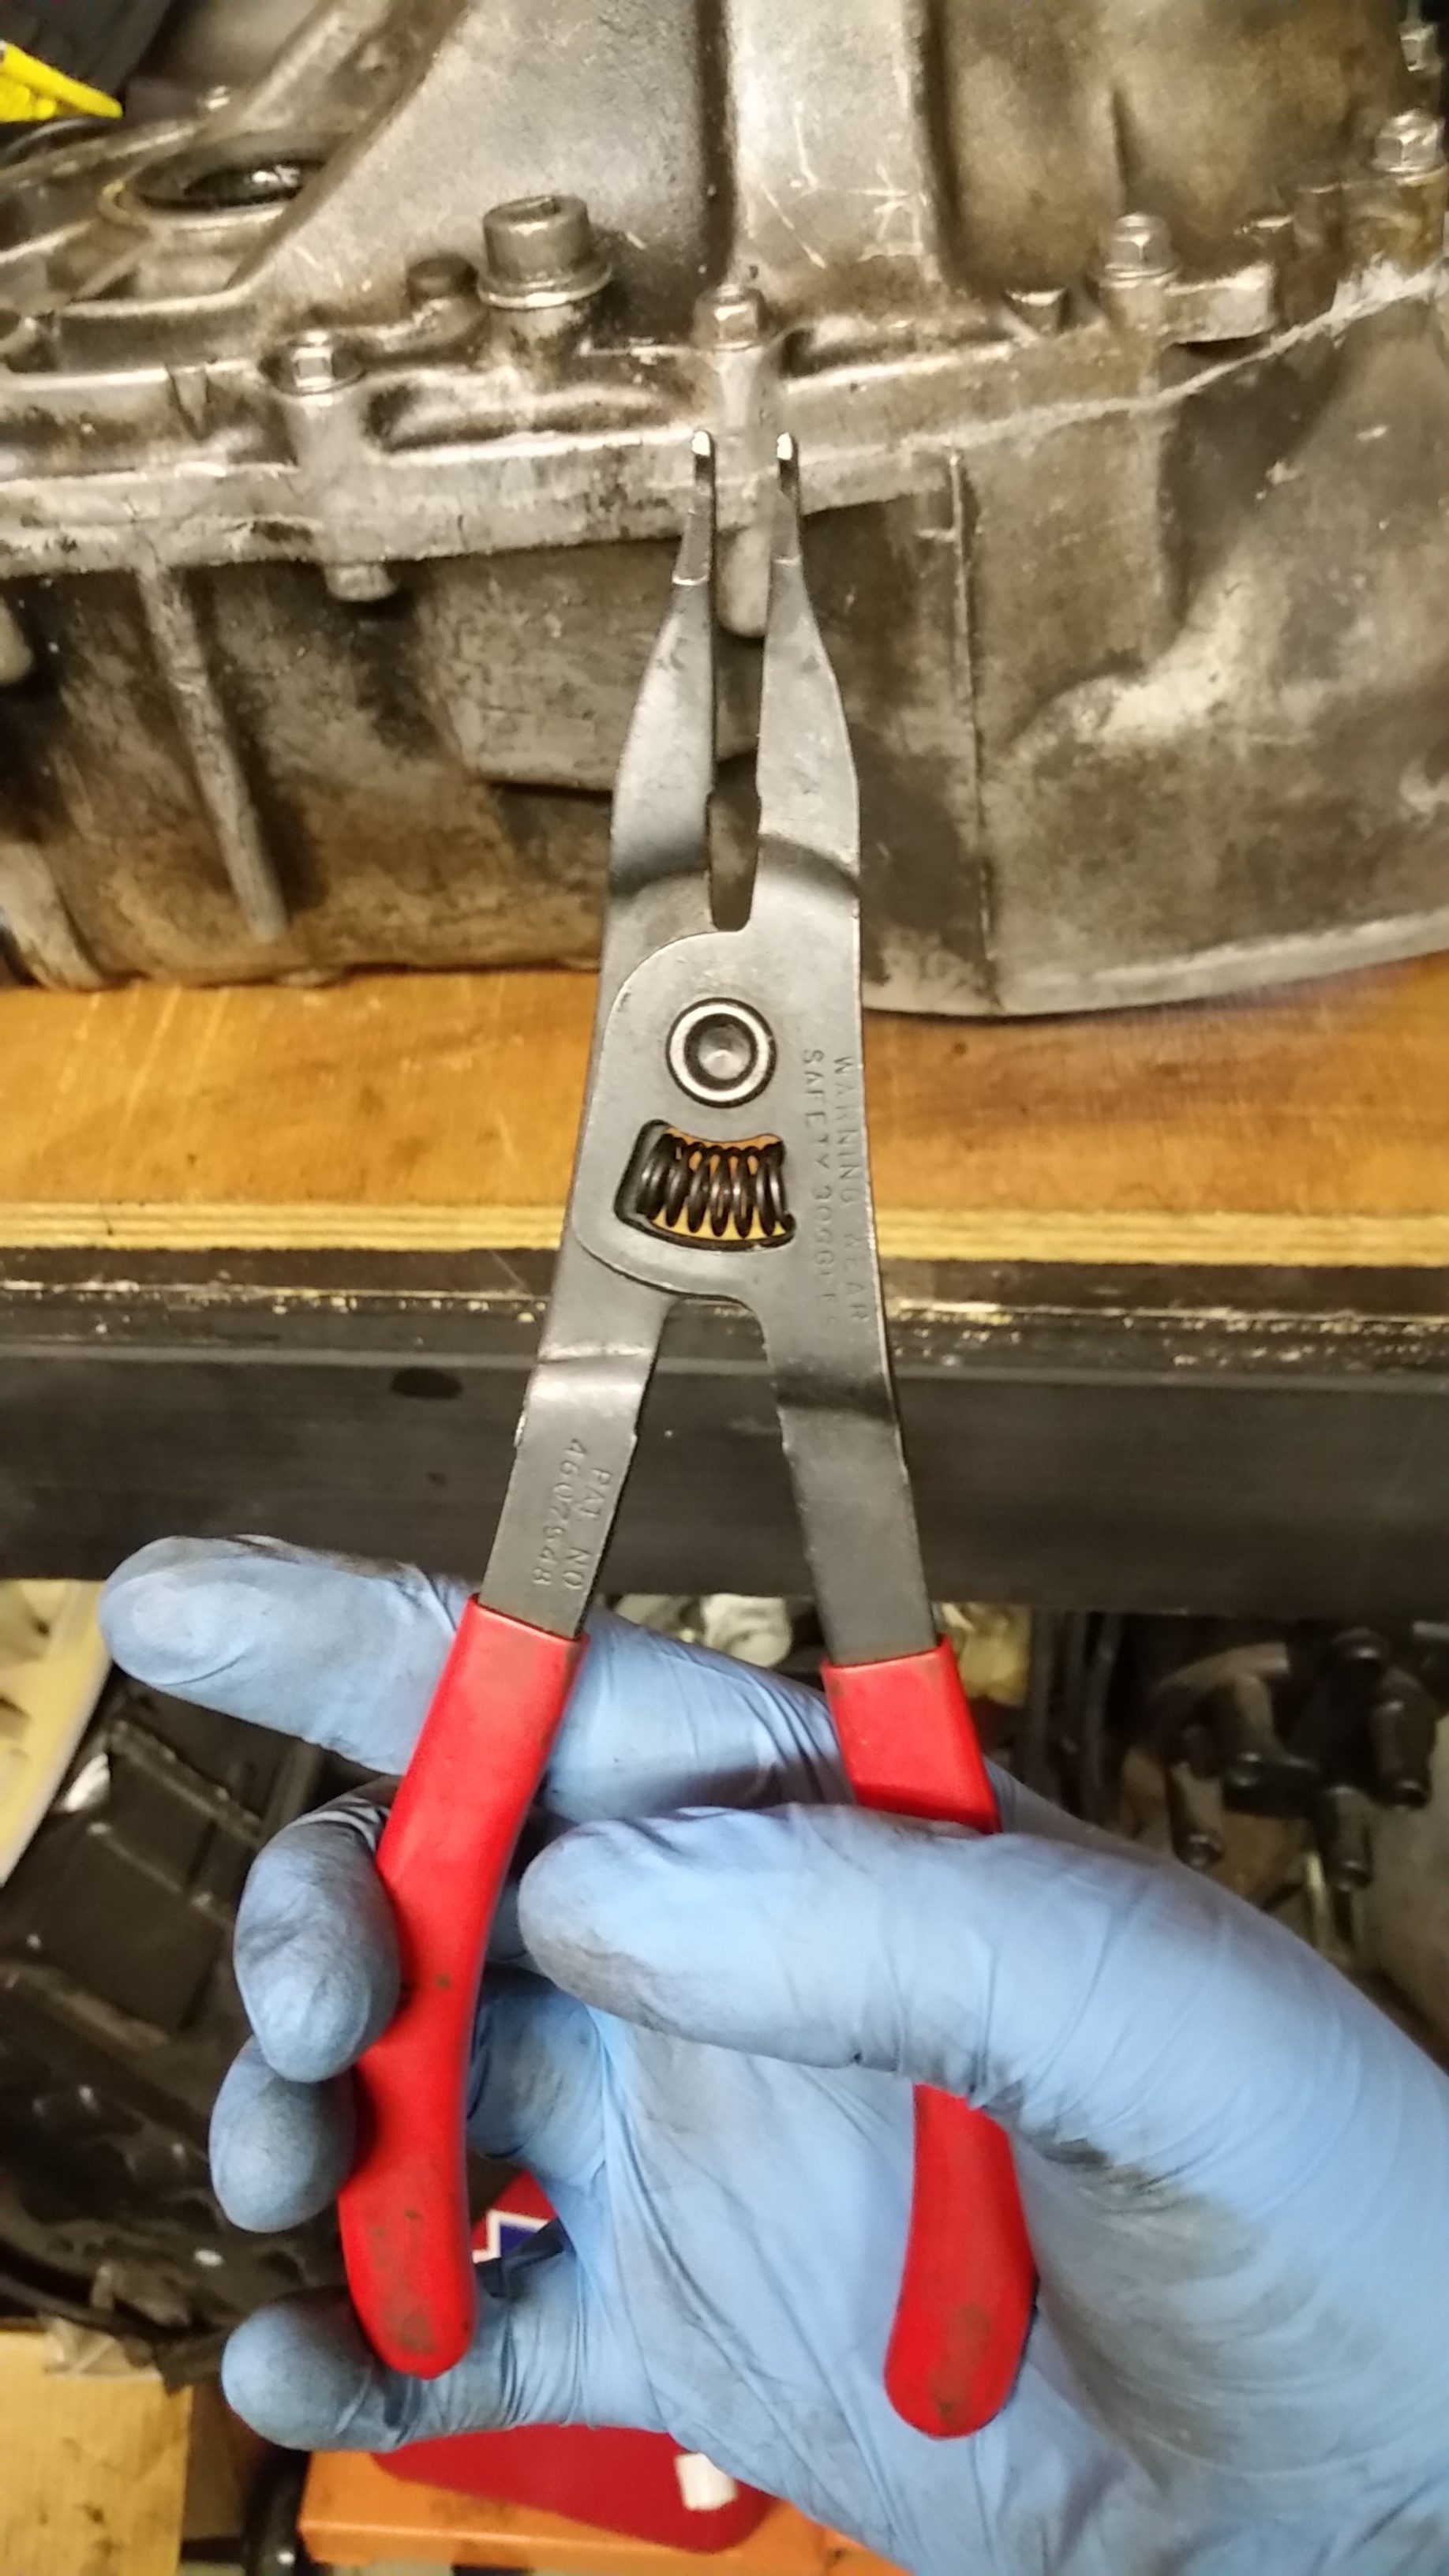
Next, remove all the perimeter case bolts. They are 12mm.
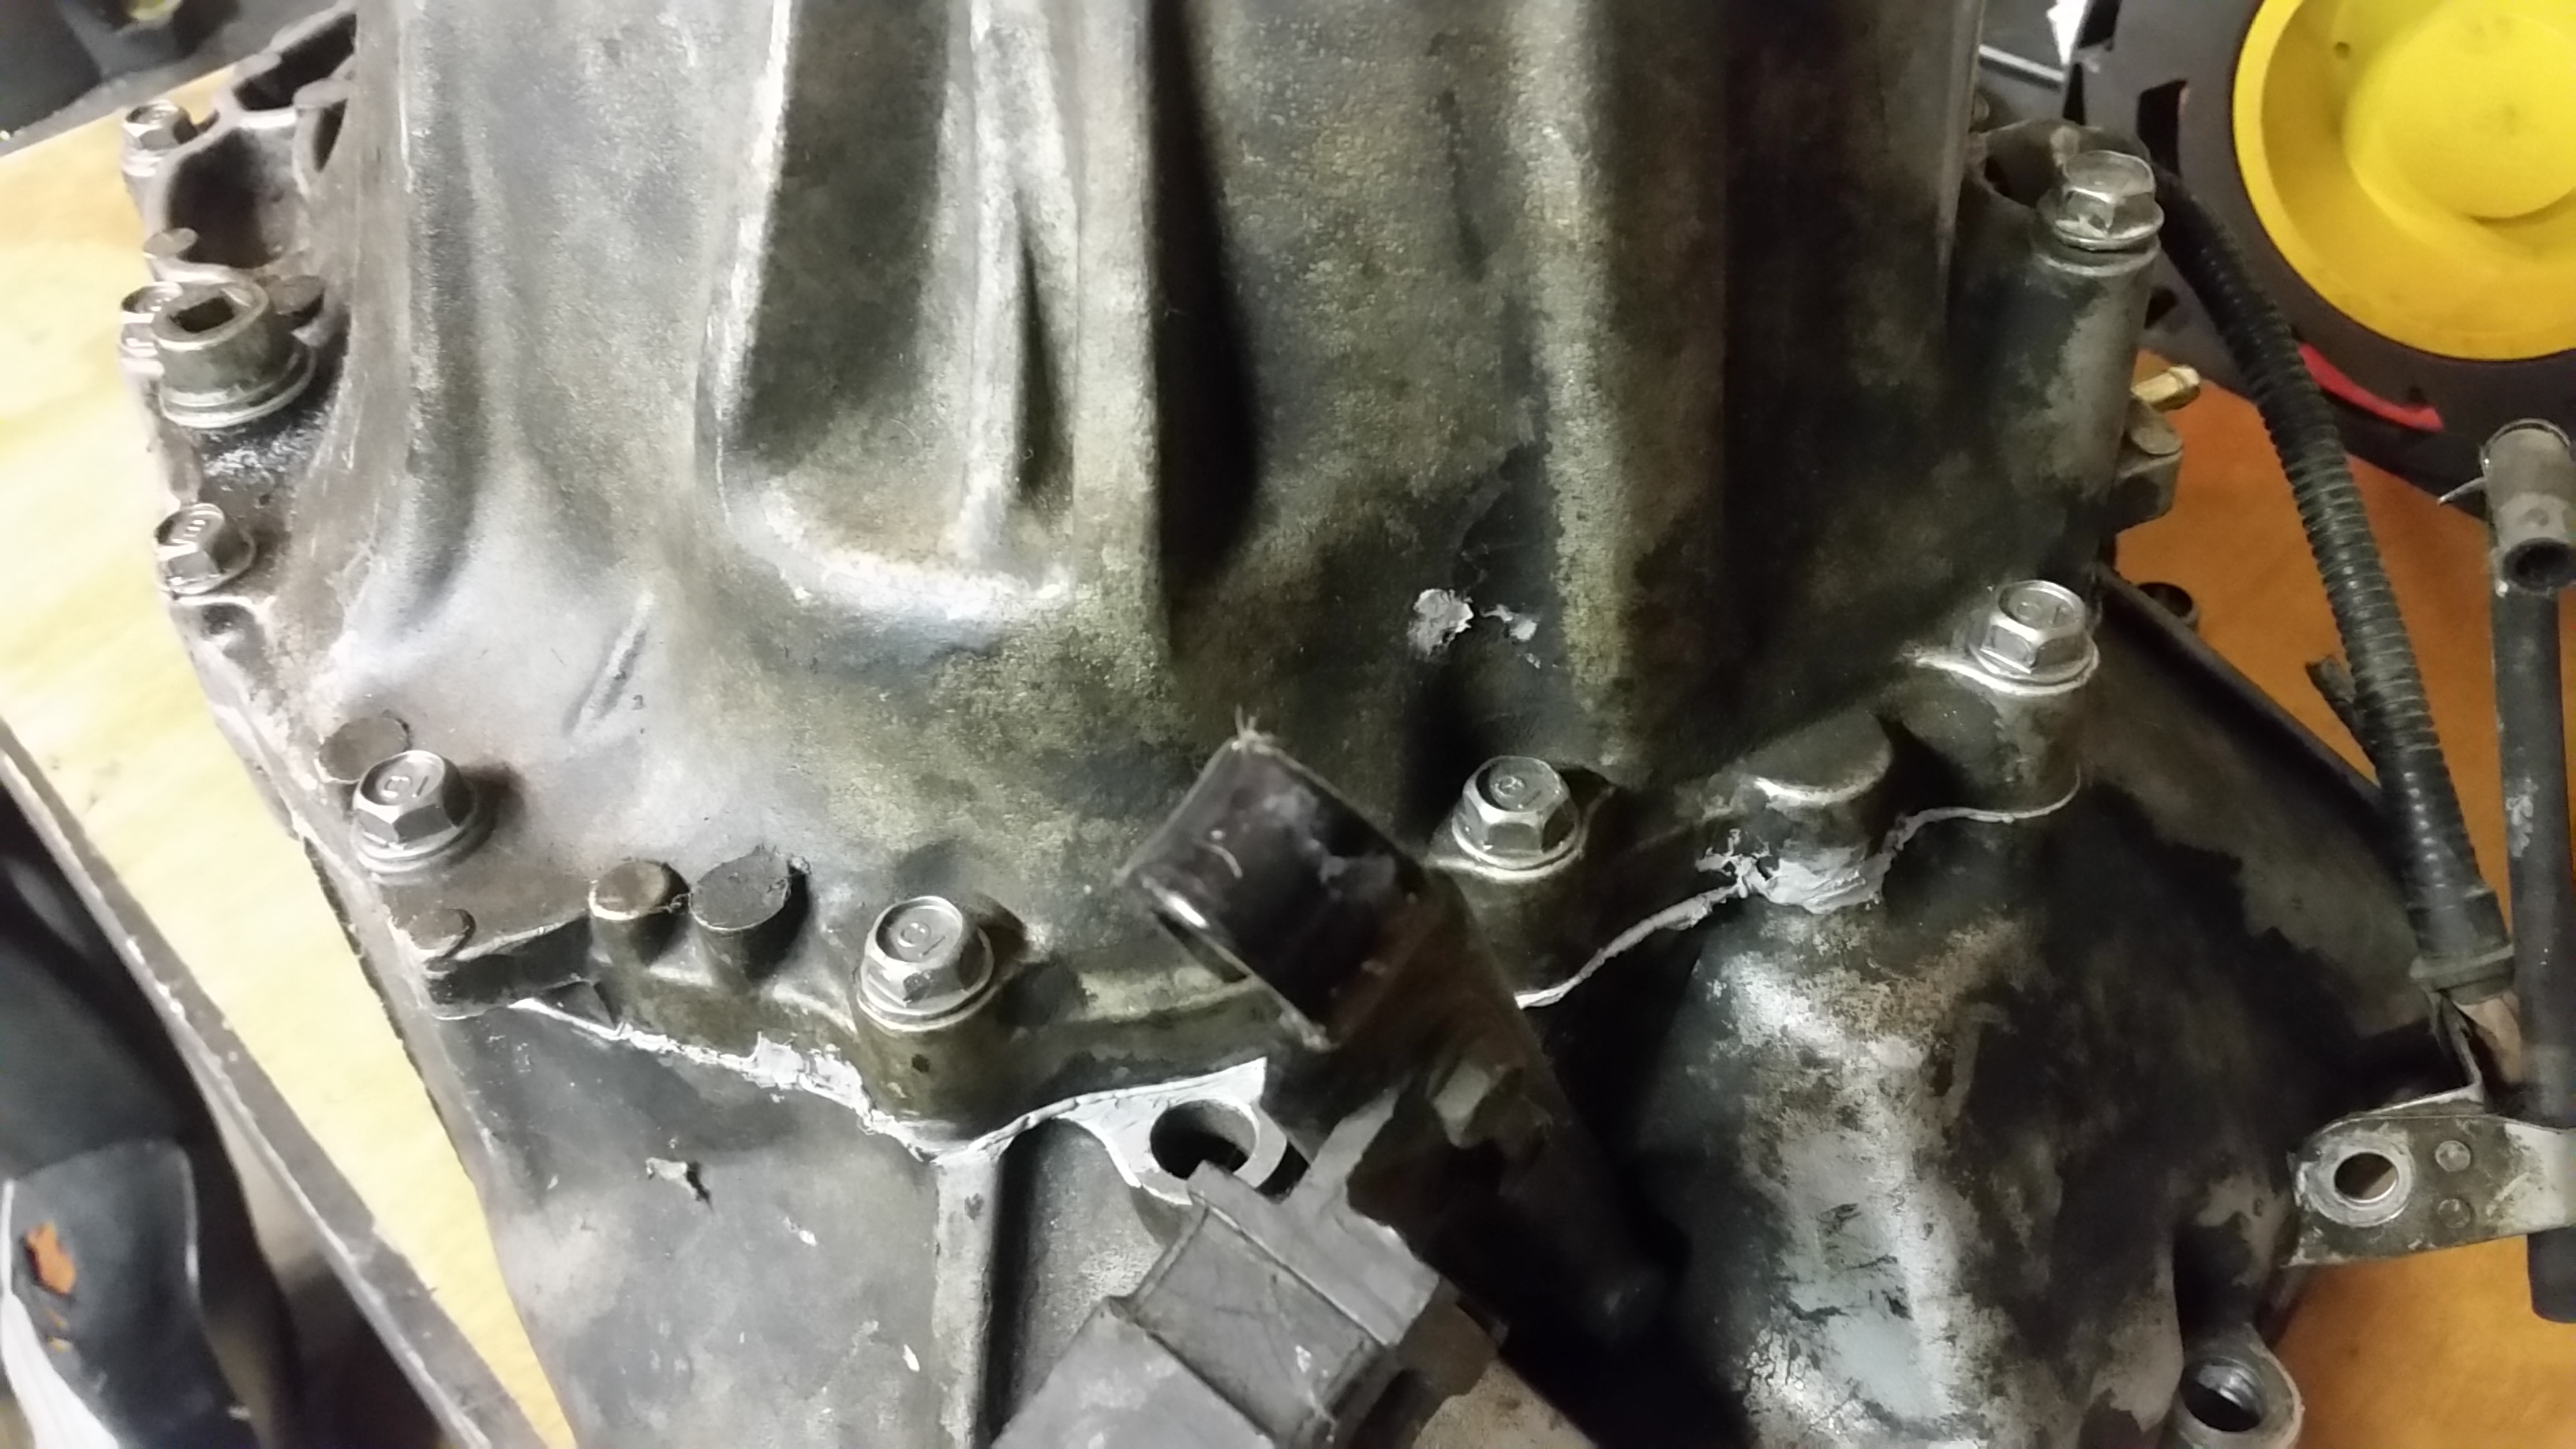

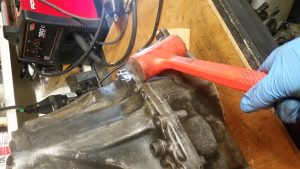
Once all the bolts are out, whack on the case ear on the bottom side of the transmission housing to split it. Using one hammer to rest on the ear and another to hit the other end of the hammer is a good technique. There should be a coating of hondabond in there keeping the case together, hence the hammer.
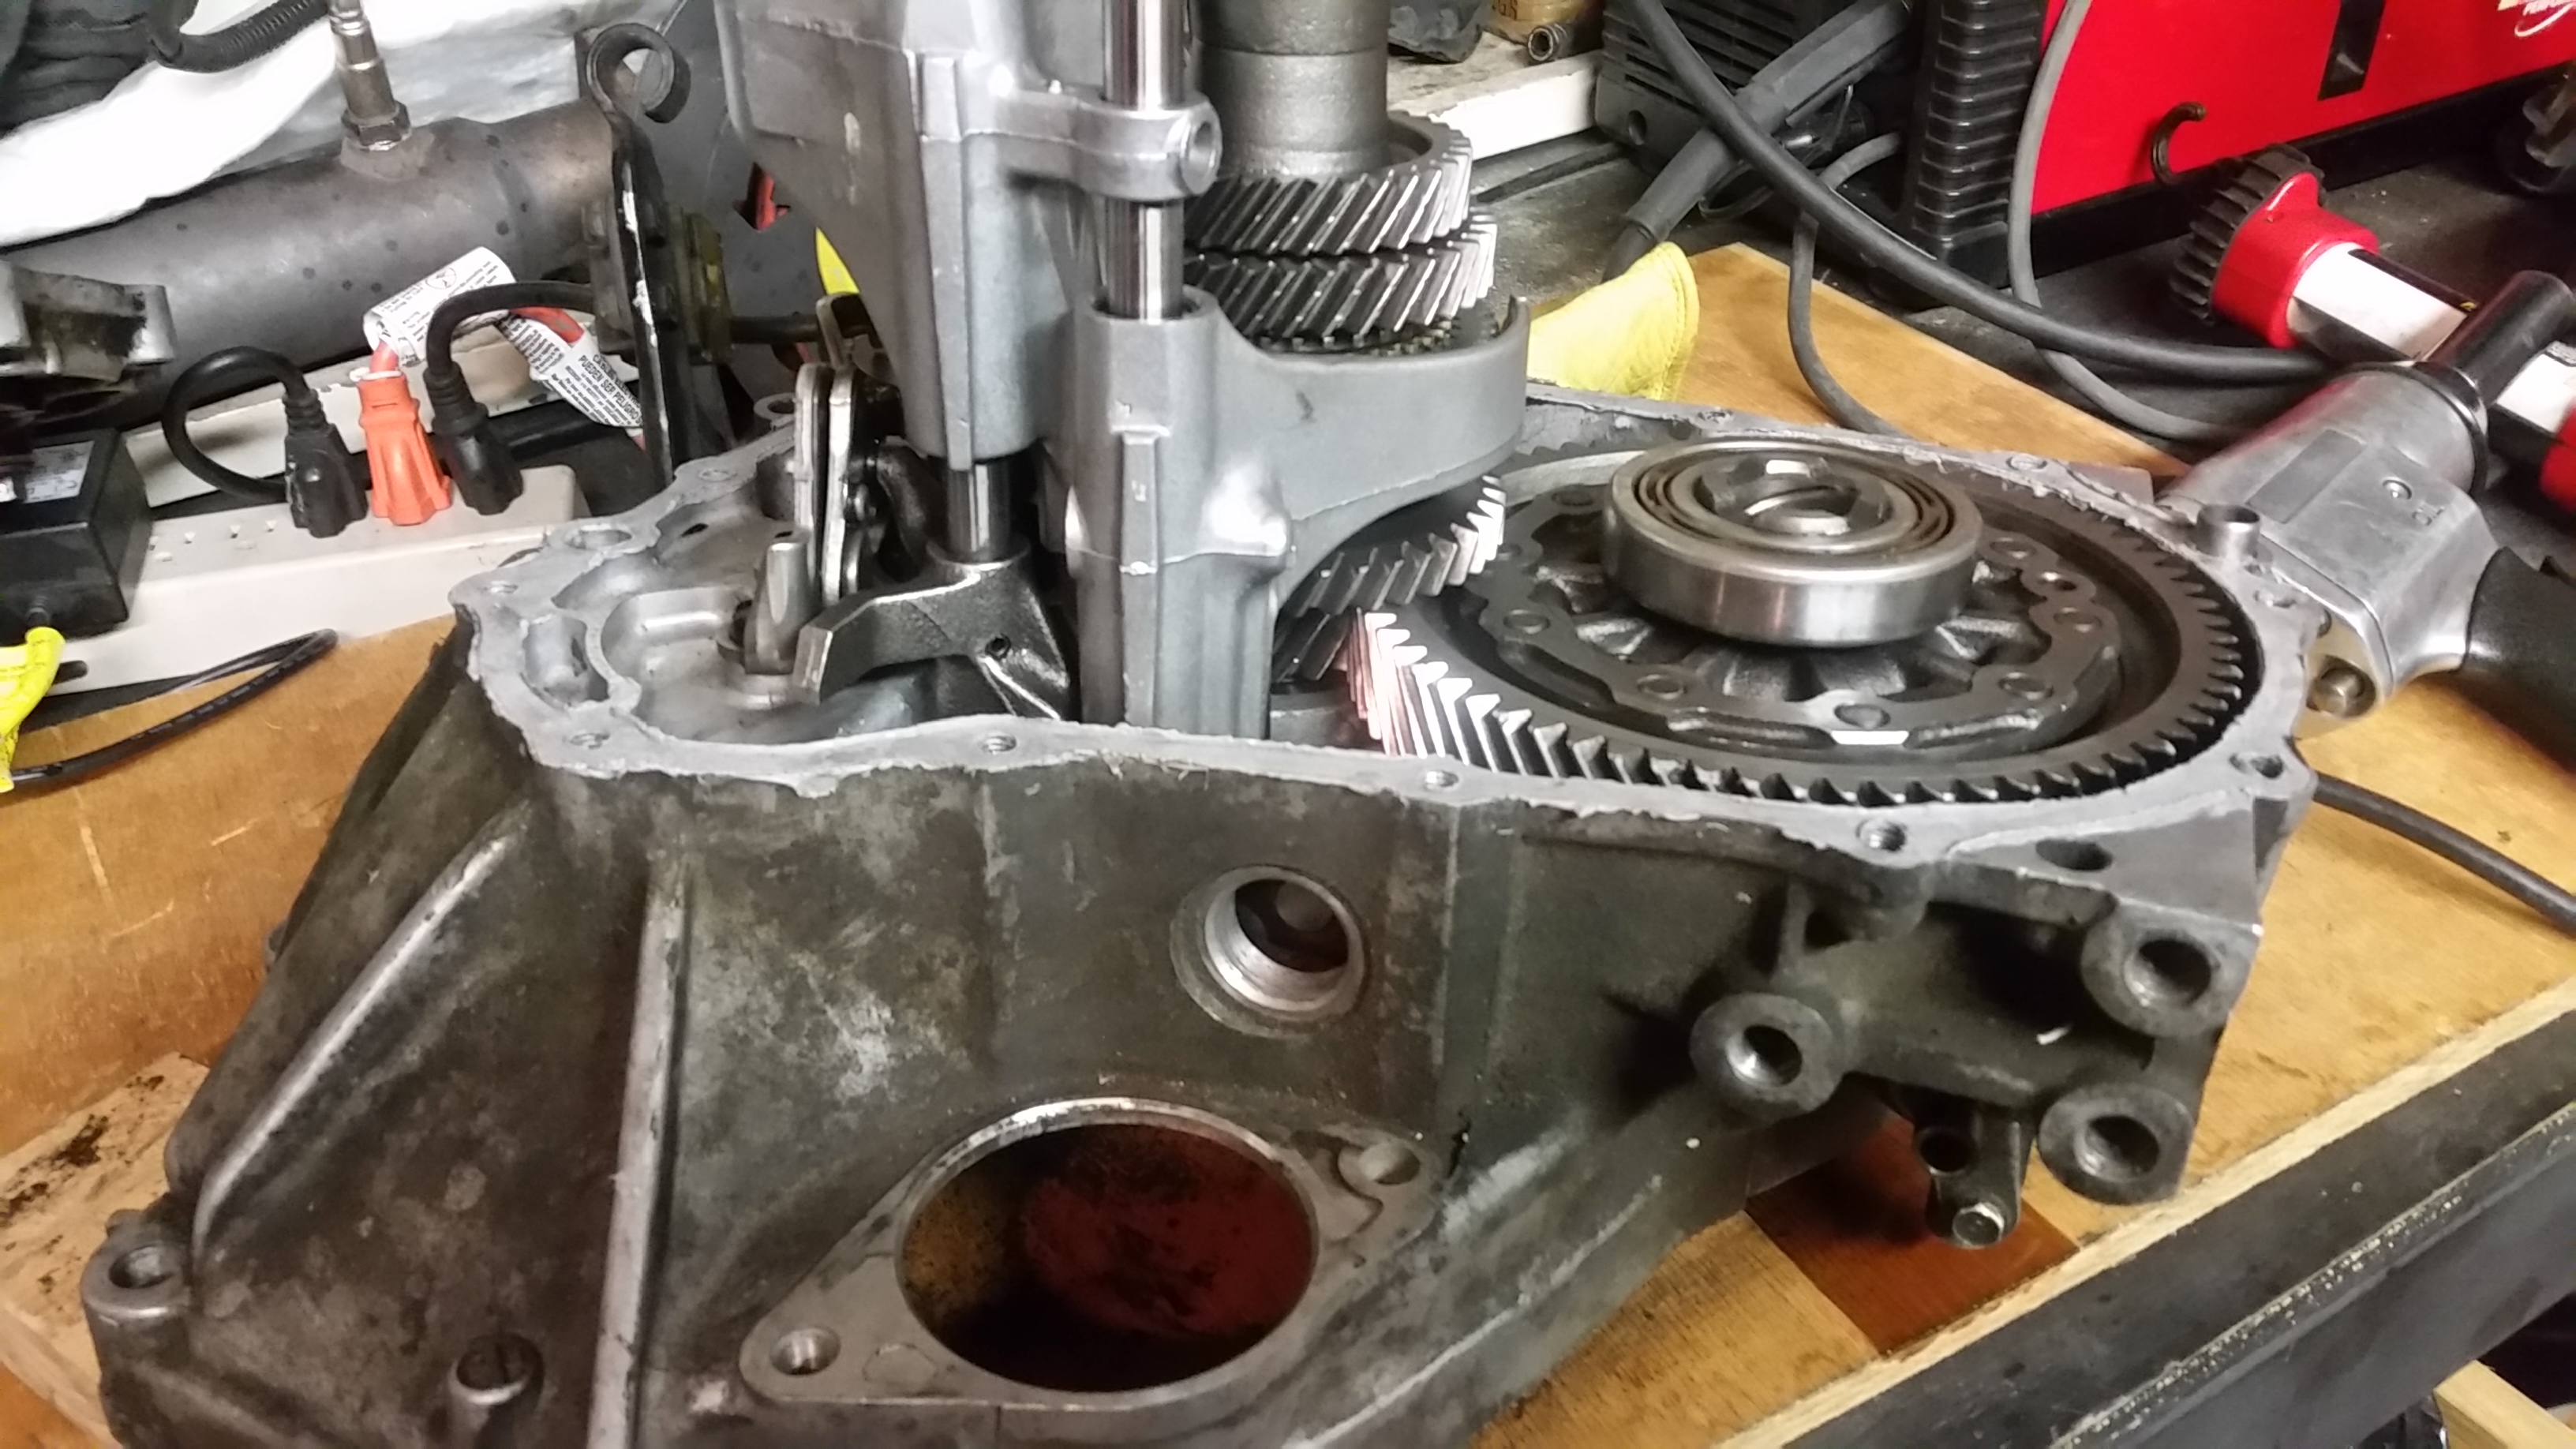
At this point, you should be able to lift the case off,with a little wiggling.
Next, you need to remove the shift guide bolt.
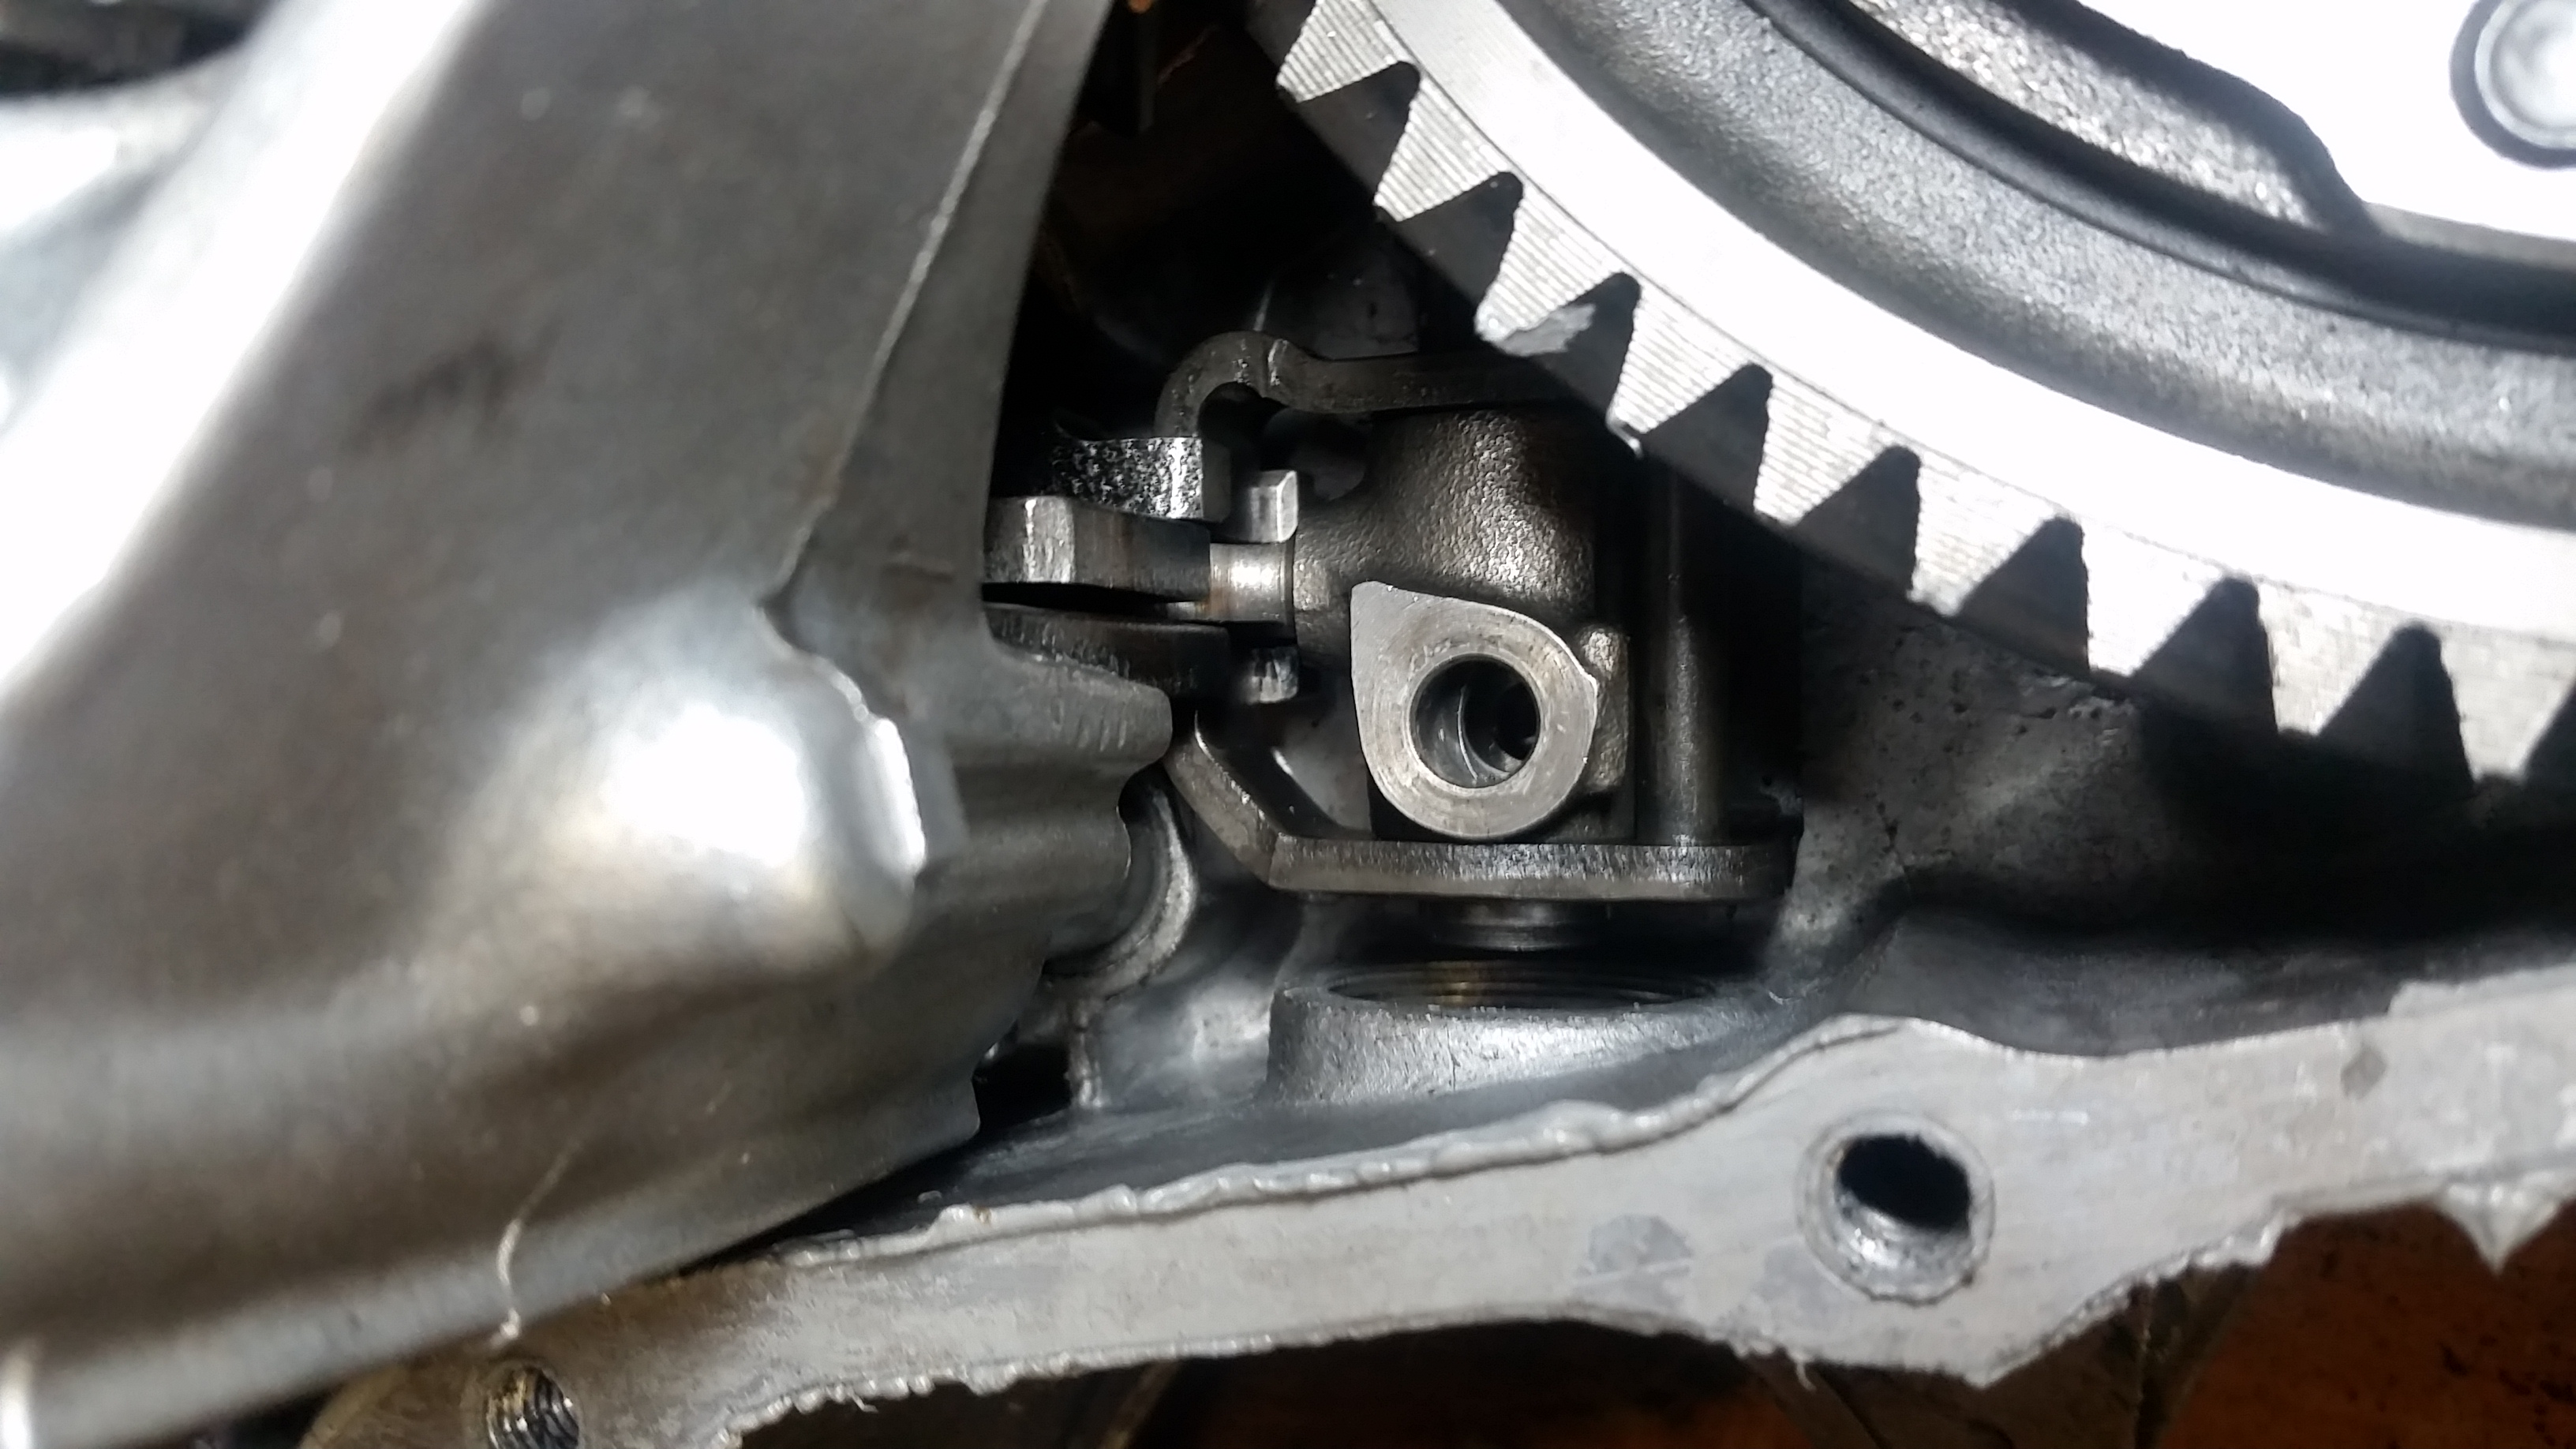
Next, remove the reverse gear selector arm. then remove the reverse gear and reverse gearshaft.
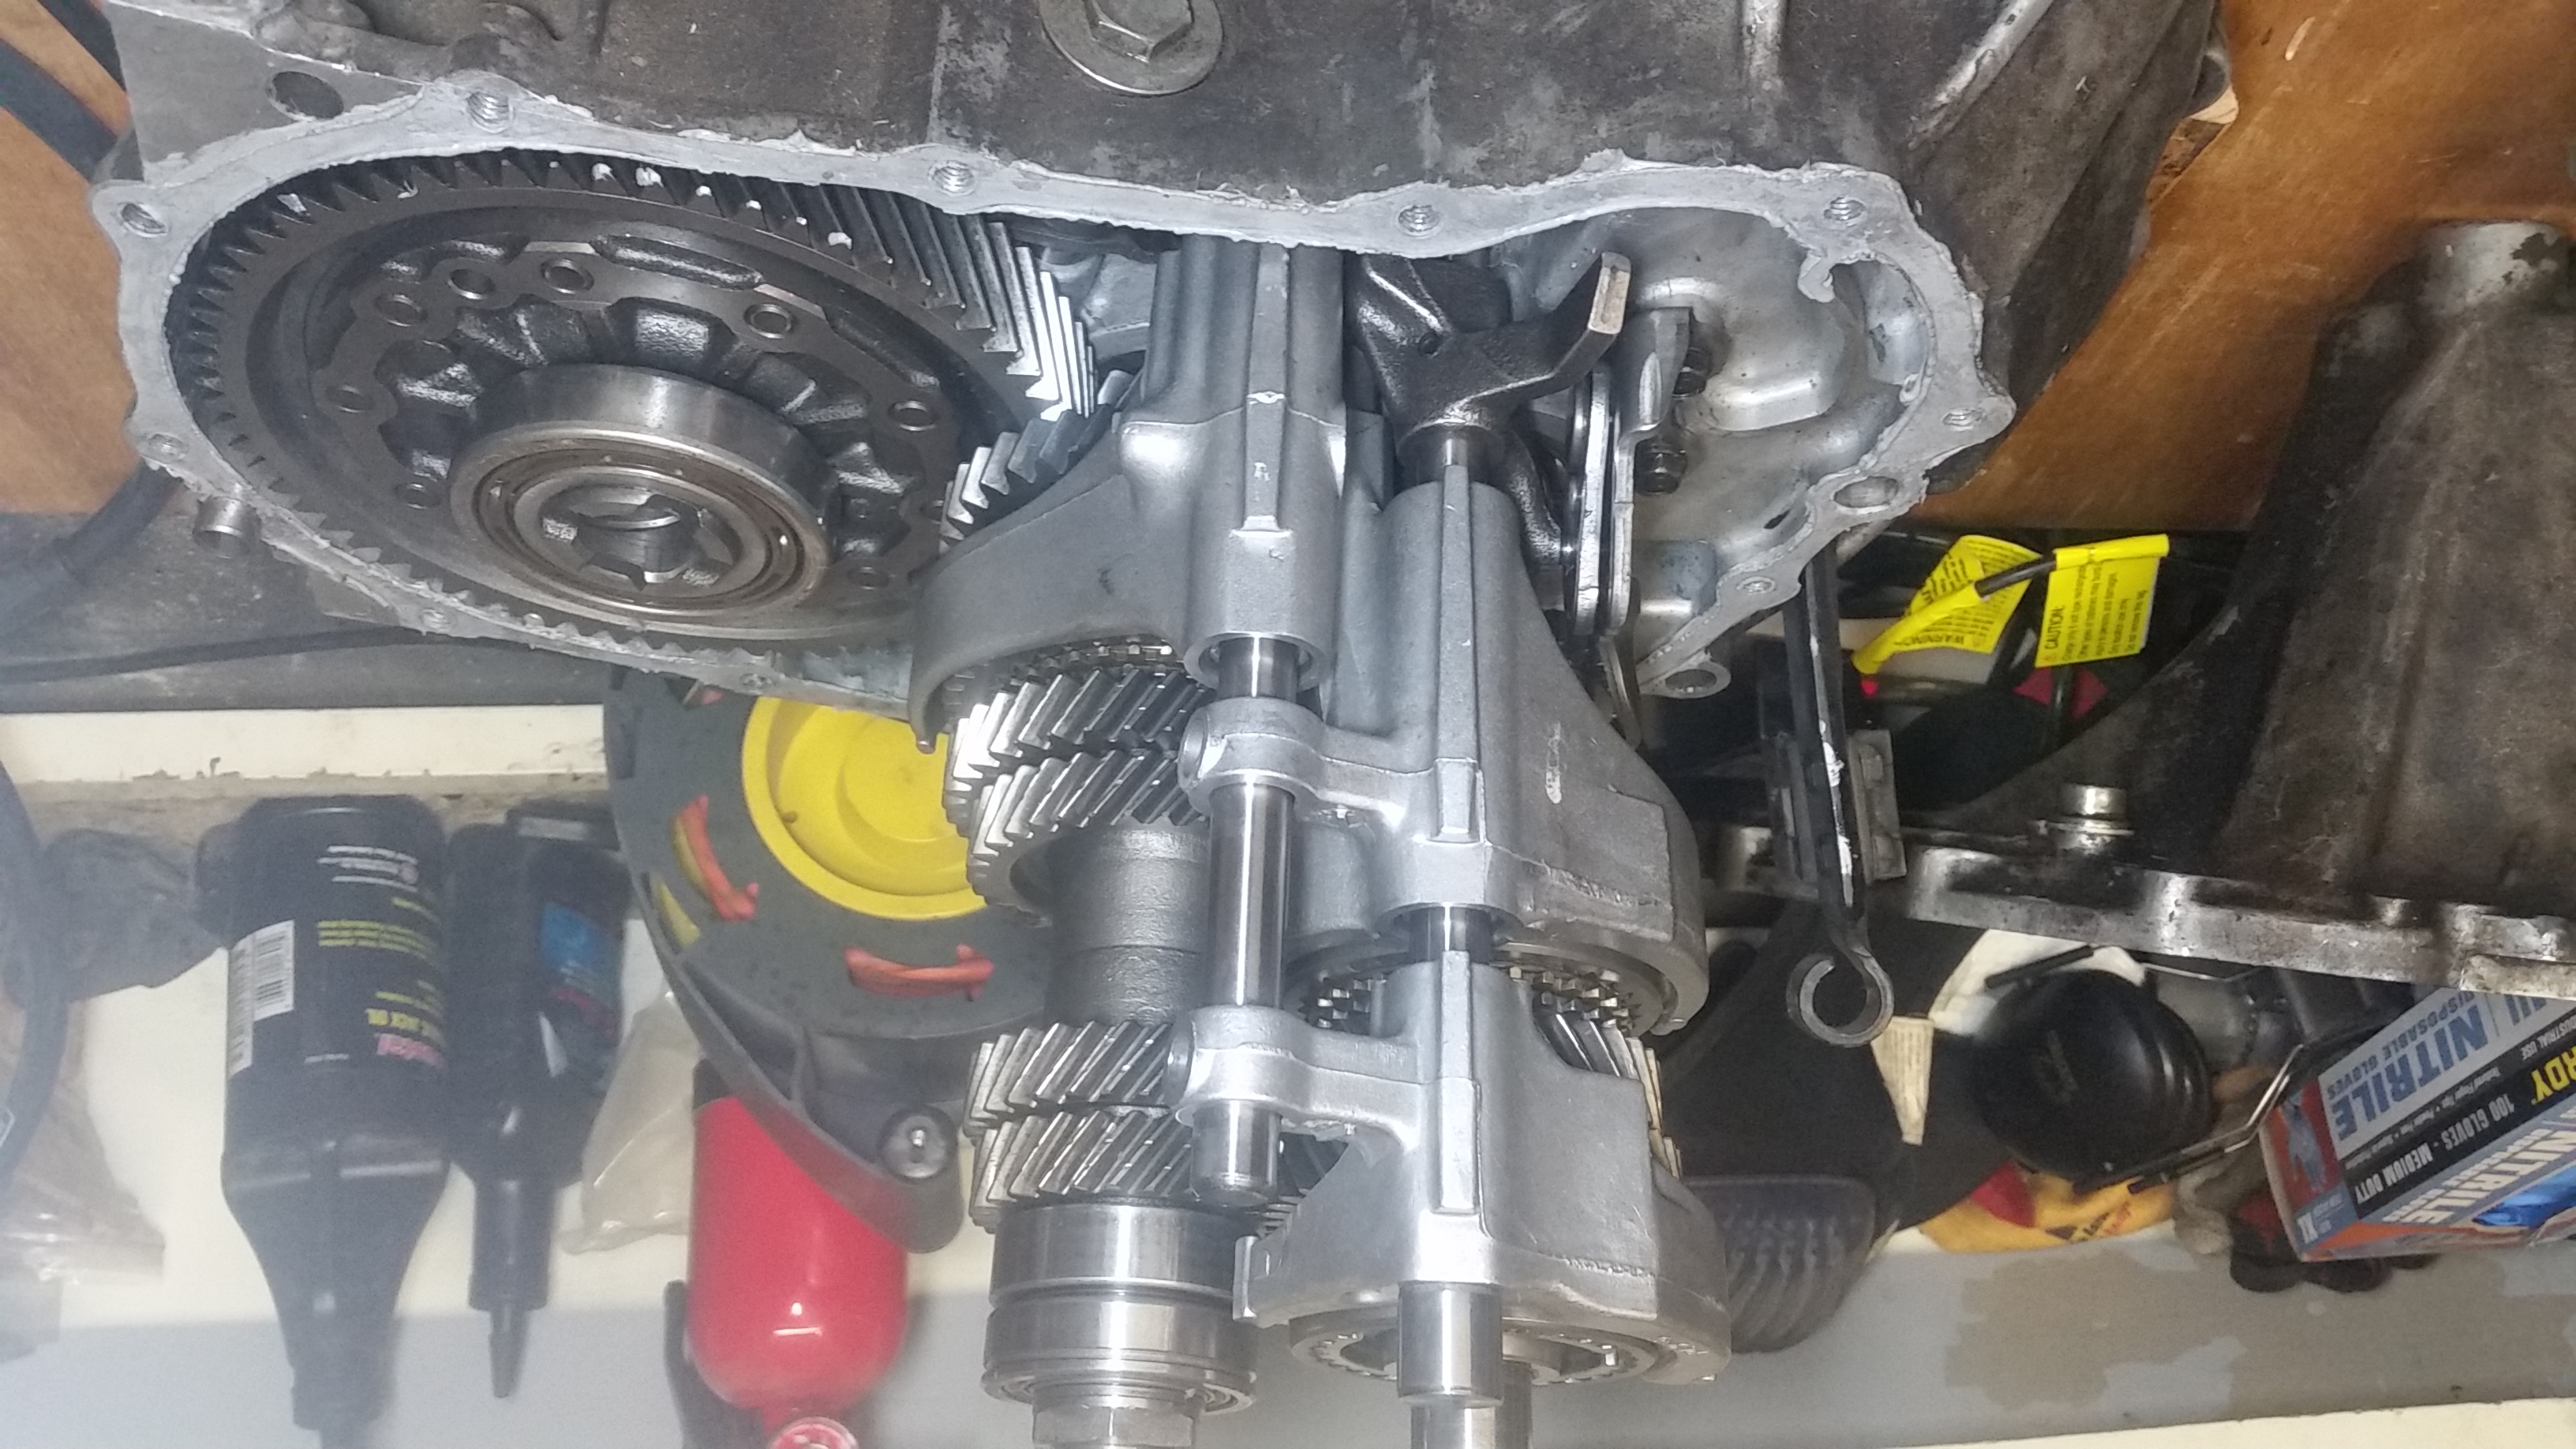
Next, remove the shift selector tension spring by removing the large sealing bolt next to the starter housing hole.
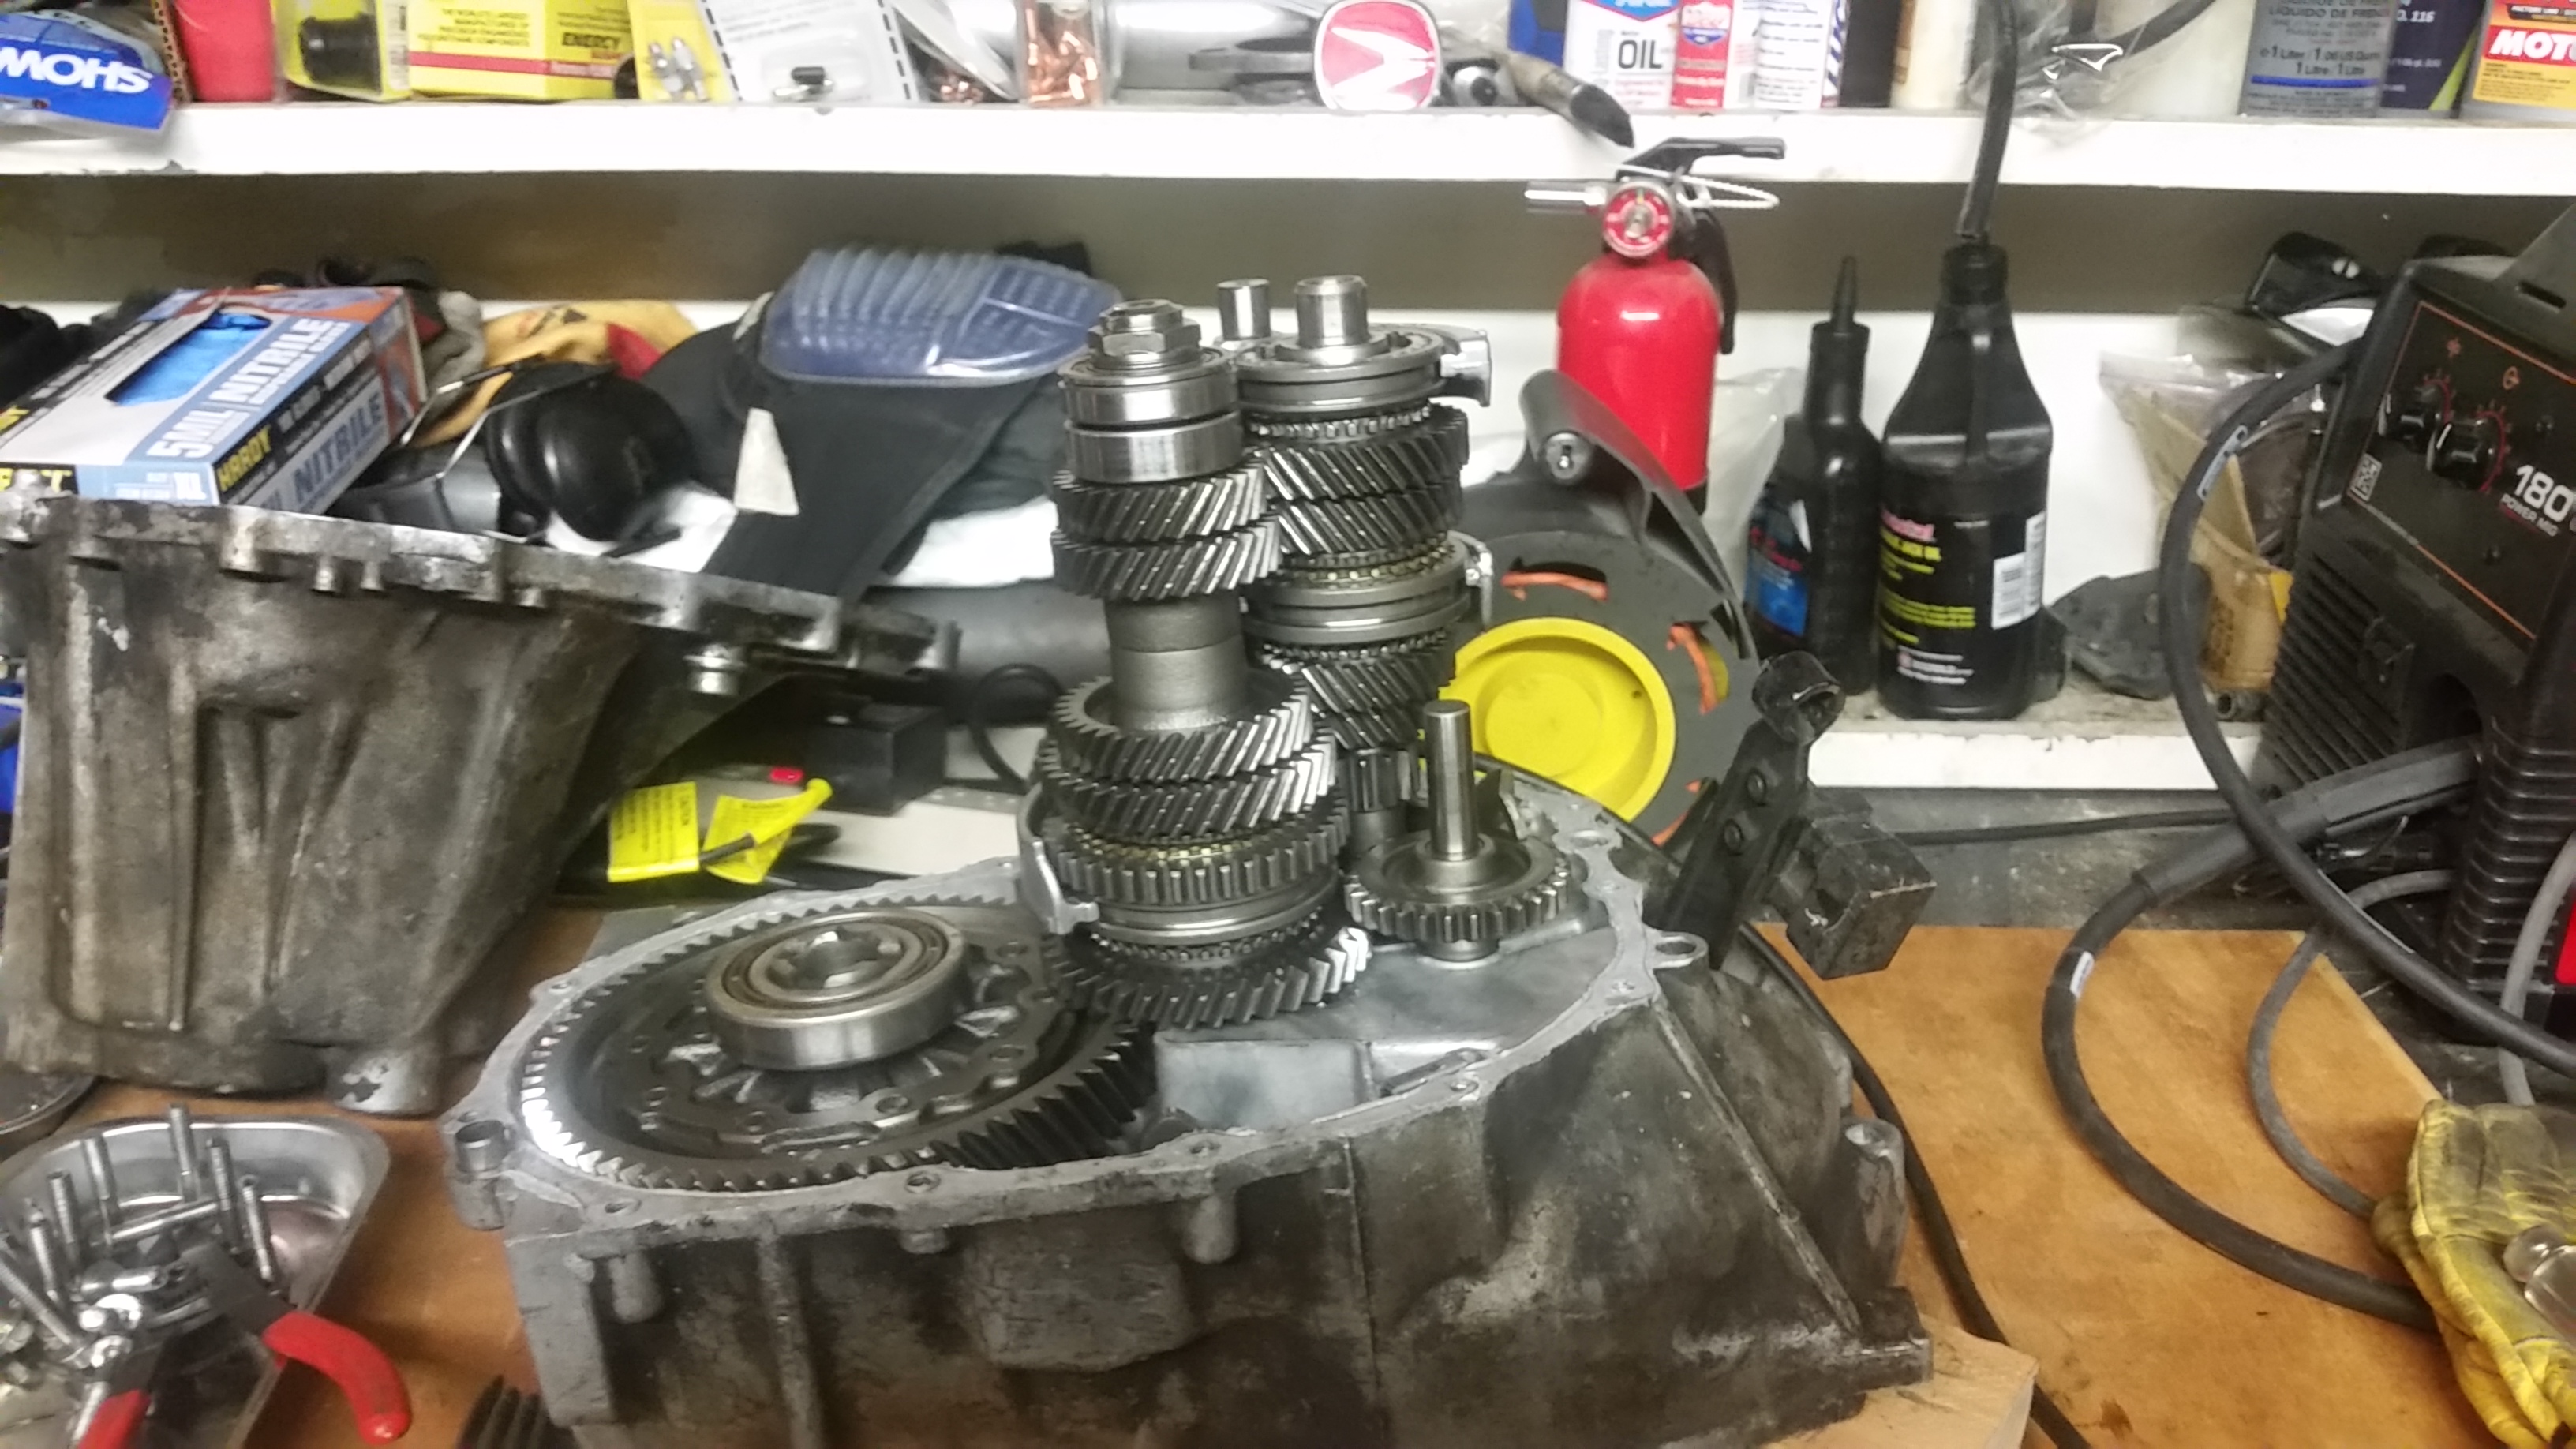
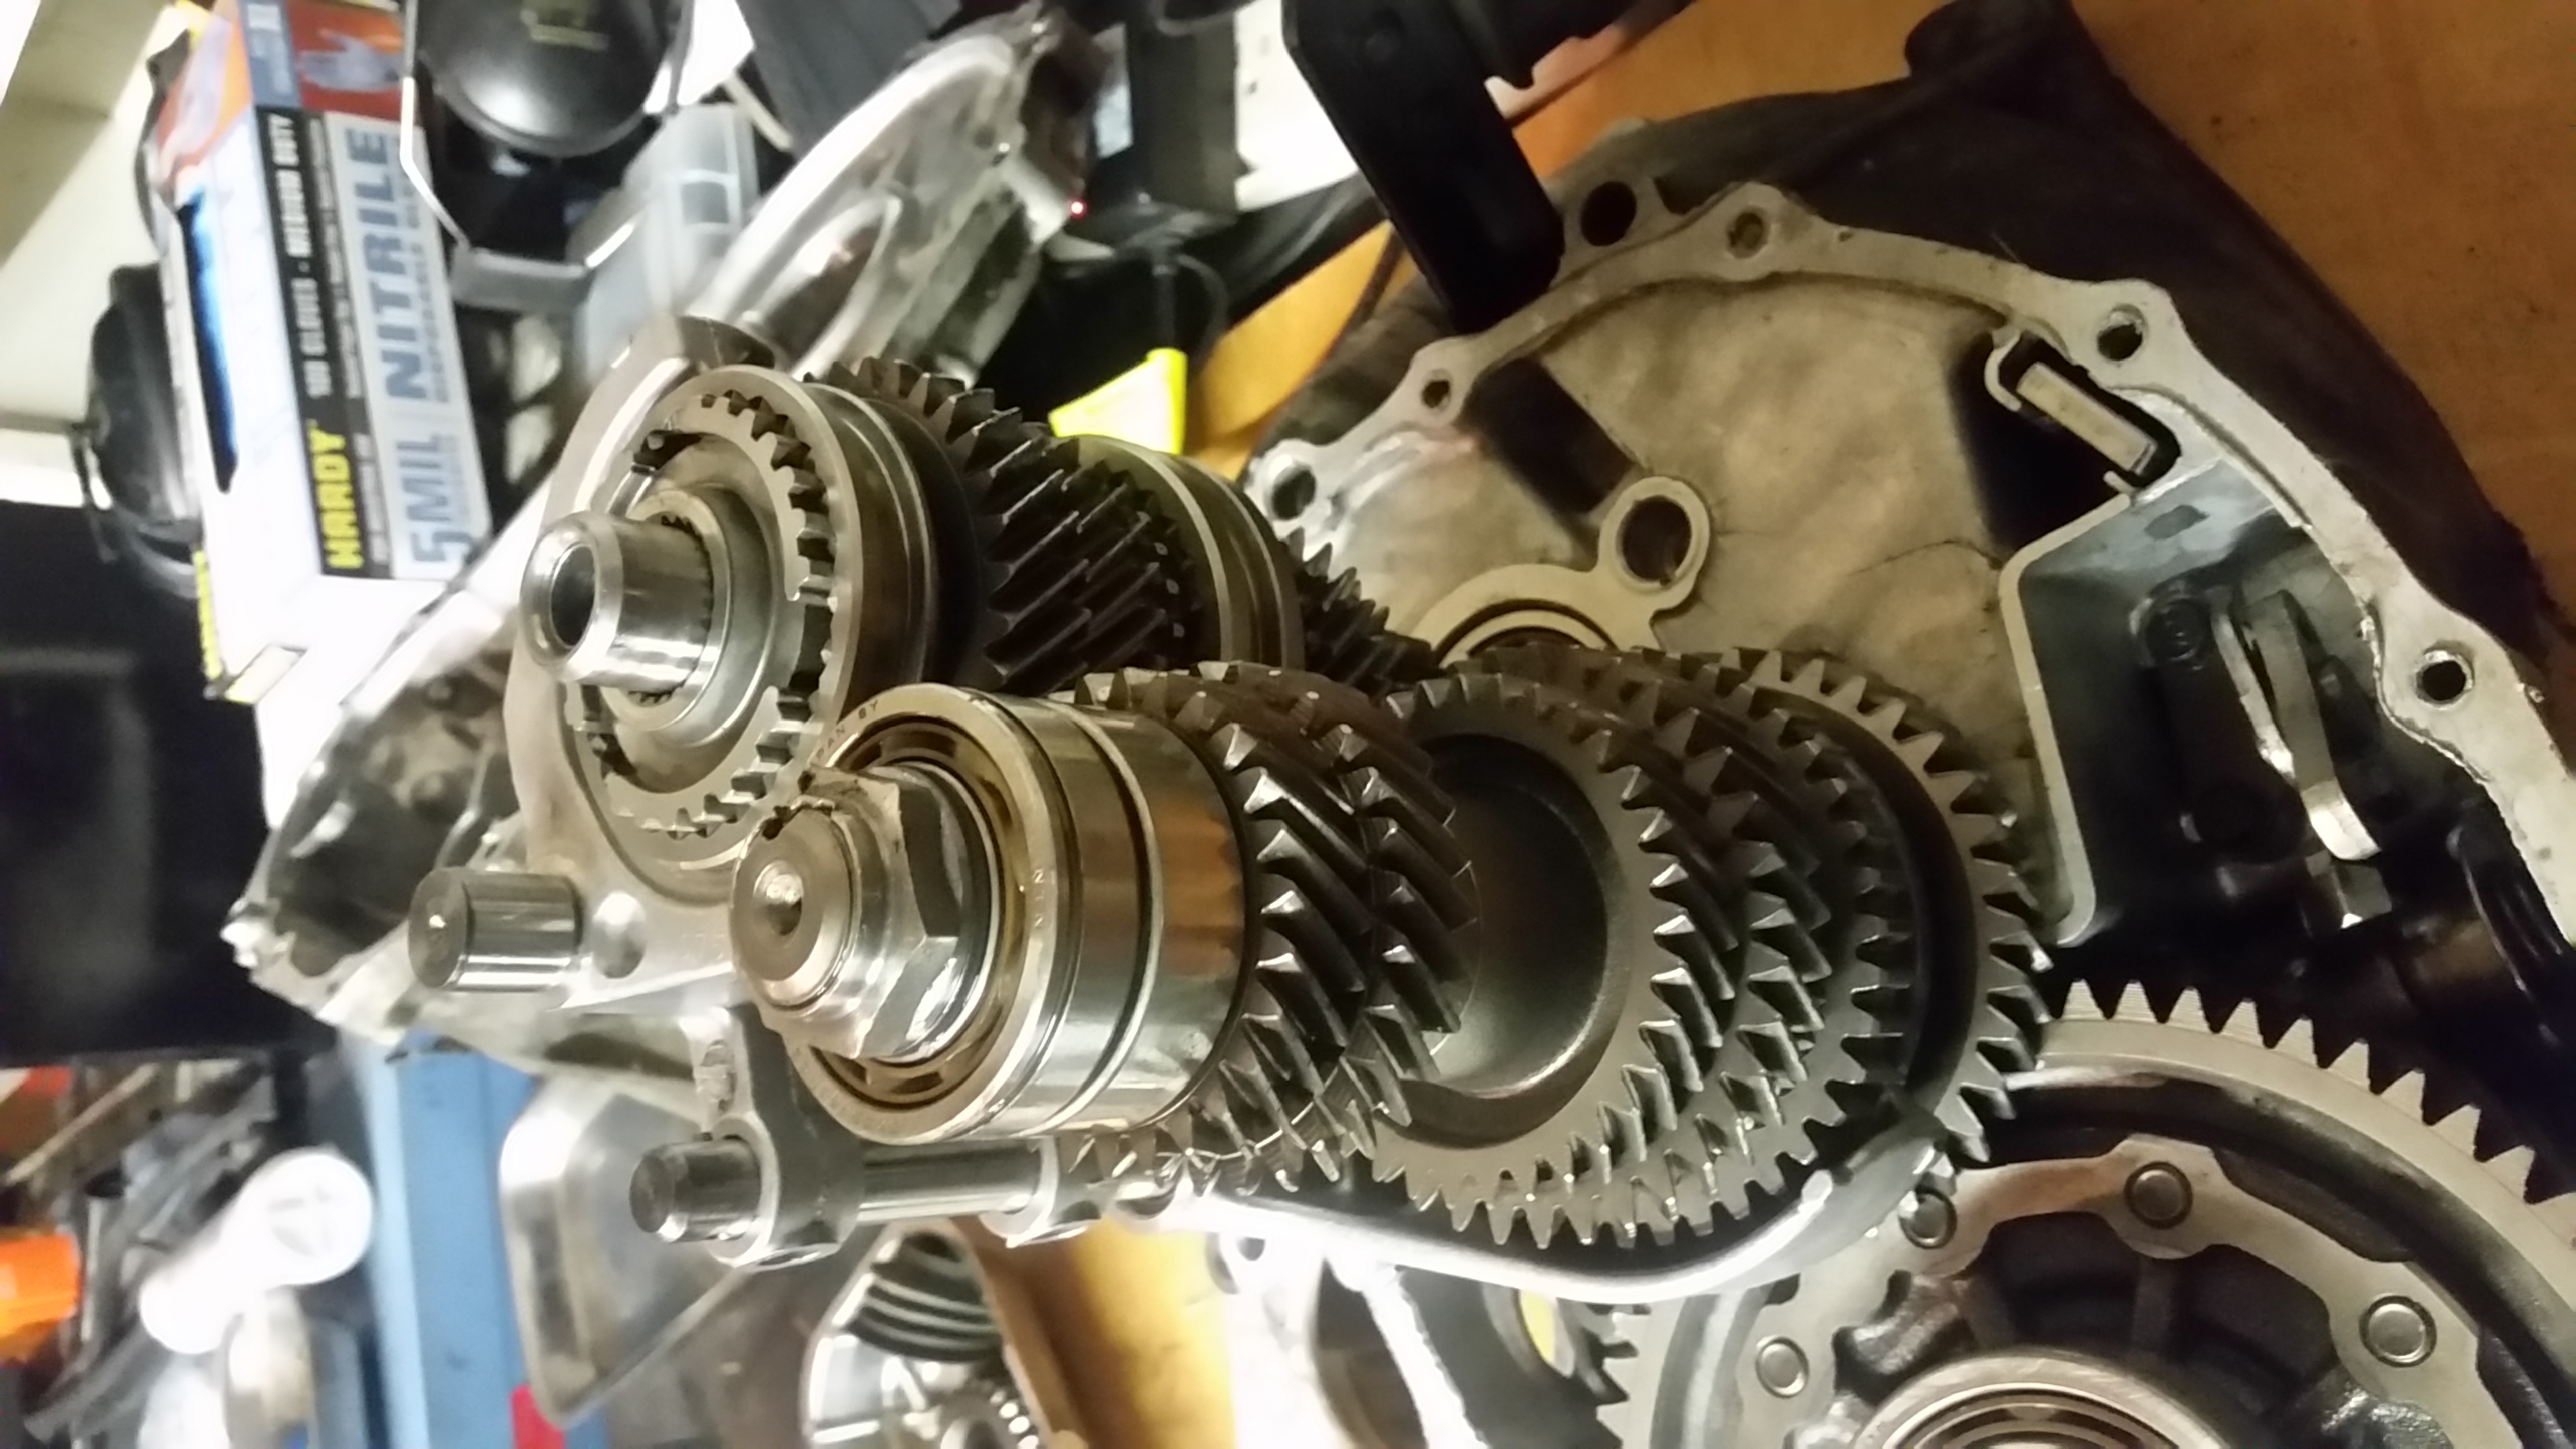
At this point, the main and countershaft, along with all the shift forks, can be removed as a unit.
The mainshaft and countershaft can then be removed from the shift fork assembly to be taken apart individually.

The bellhousing side of the transmission without the main and countershaft installed. Note there are two shims that go on the bellhousing side of the mainshaft that must be oriented correctly upon re-assembly.
